My Exploratory trip to Finnish Lapland- Winter Wonderland !
February 2018 brought with it some unexpected travel plans. I think this was the quickest trip by far from Thought to Planning and actually heading there that I have experienced in a very long time. I have been wanting to do some true white winter photography for a while now and being situated in India and Singapore you can see how that can be a challenge.
February 2018 brought with it some unexpected travel plans. I think this was the quickest trip by far from thought to planning and actually heading there that I have experienced in a very long time. I have been wanting to do some true white winter photography for a while now and being situated in India and Singapore you can see how that can be a challenge.
But this year all that changed as a chain of events resulted in my ending up in Finnish Lapland near the Arctic Circle. So what follows is a Photo Essay/Travel Tip/Photography Learnings from that trip.
Why Lapland?
Having shot primarily during spring and fall for the past several years I was nagged by a desire capture photographs of a proper white winter.
I had been putting off winter photography for all the usual reasons. Having lived most of my life in the hot tropical conditions of South India and also having experienced the biting cold winters of North Eastern US for a few years I have generally been comfortable planning my Landscape and Travel shoots during the shoulder seasons of Spring and Fall.
And I have hundreds of images from those shoots. But what was starkly missing from my portfolio was winter photos.
Getting There
From Singapore
Finnair has direct connections from Singapore to Helsinki. From Helsinki fly to Rovaniemi which is the main gateway to Finnish Lapland.
From India
Finnair flies from Mumbai and New Delhi to Helsinki from where you can connect to Rovaniemi.
Other Notable Airports in Lapland are Ivalo and Kittila but I strongly suggest heading to Ravaniemi first getting your winter bearings there in the comfort of a relatively larger town with load of facilities and Tour Operators before heading in to the more remote areas.
Watch this Video for more Information on how I planned for my trip.
When to Go to Experience Winter in Lapland
December to March is winter period at Lapland.
Typical Temperatures in winter
December: -20 to -10 degrees Celsius
January: -30 to -15 degrees Celsius
February: -20 to -15 degrees Celsius
March: -15 to -5 degrees Celsius
Clothing
At these low temperatures its very important to stay warm . Wear Layers and Choose good quality lightweight synthetic fibres or wool. Stay away from cotton while choosing clothing for this trip.
During my trip the coldest temperature was -29C and on average it was in the -15C range. I wore 3 layers regularly starting with thermals and then insulated pants and woollen sweaters or fleece and the final layer being a heavy insulated jacket and snow pants.
For footwear I wore sock liners and thick wooden socks and my mid height hiking boots which did a decent job of keeping me warm. And to protect my head and face I had a balaclava over which a I wore thick woolen Beanie and UV goggles to protect my face.
I used photography gloves with openable tips for index finger and thumbs on both hands to keep me warm but also make it easier to operate the camera controls.
My Favourite Outdoor Wear Brands
For Clothing : White Sierra, Patagonia, Arcteryx, Marmot, Mammut
Winter Gear
2. Snow Pants
3. Base Layers
What was in my camera Bags?
As photographers we are ofter conflicted with what to take and what to leave behind just in case and this time was no different. I think I carried a little more than I should have but here is the list of equipment I carried for the trip. I took with me the Canon 5D IV and Canon 5DS-R Camera bodies. These are now available at a discount now and are still very good options. But technology has marched on and there are several great high resolution cameras with better dynamic range available now.
Suggested Cameras Updated for 2021
From Canon
Canon EOS R6 Full-Frame Mirrorless Camera with 4K Video
Canon RF 70-200mm f/2.8L is USM Lens
Canon RF 24-105 mm F/4 l is USM Lens
From L Mount Alliance
Panasonic Lumix S DC-S1M, Full Frame Camera with 24-105 Lens kit
Leica SL2 47MP Mirrorless Full-Frame Camera (Body Only)
Leica Vario-Elmarit-SL 24-90mm f/2.8-4 ASPH. Lens
From Fujifilm Medium Format
Fujifilm GFX 100S Body - Black
Fujinon GF32-64mmF4 R LM WR Lens
From Sony
Sony - FE 16-35mm F2.8 GM Wide-Angle Zoom Lens
Sigma 592965 28-70mm F2.8 DG DN for E mount
In hindsight I think the 55mm Otus and the 100mm Macro were overkill and weren't used all that much. The Lens that I enjoyed shooting the most with were the Sigma 20mm f1.4 and the Canon 70-200 f2.8 followed by the Canon wide angle zoom.
Accessories
Mindshift Gear- Backlight 26L Backpack , Think Tank Airport Stroller Bag
Gitzo Mountainer Tripod and Arca Swiss Z1 ball head
Rugged Torchlight
San Disk Extreme and Lexar CF Cards and SD cards
Lacie Rugged External Hard Drive and San Disk SSD Drives for backing up images
Macbook Pro and iPad Pro which were a bit redundant next trip I wil carry just one of these.
(I Lost my B1 Ball head while using the ski lift to to the top of kaunispa and now need to replace that. Hazards of travel photography !)
My Itinerary
My Journey started in Singapore from where I flew on British Airways to Helsinki Via Heathrow . From Helsinki I took a connecting flight to Rovaniemi the gateway town to Finnish Lapland . Rovaniemi has two unique qualities. 1 the Arctic Circle actually runs through it. 2 It is home to Santa’s Village and Santa’s post office.
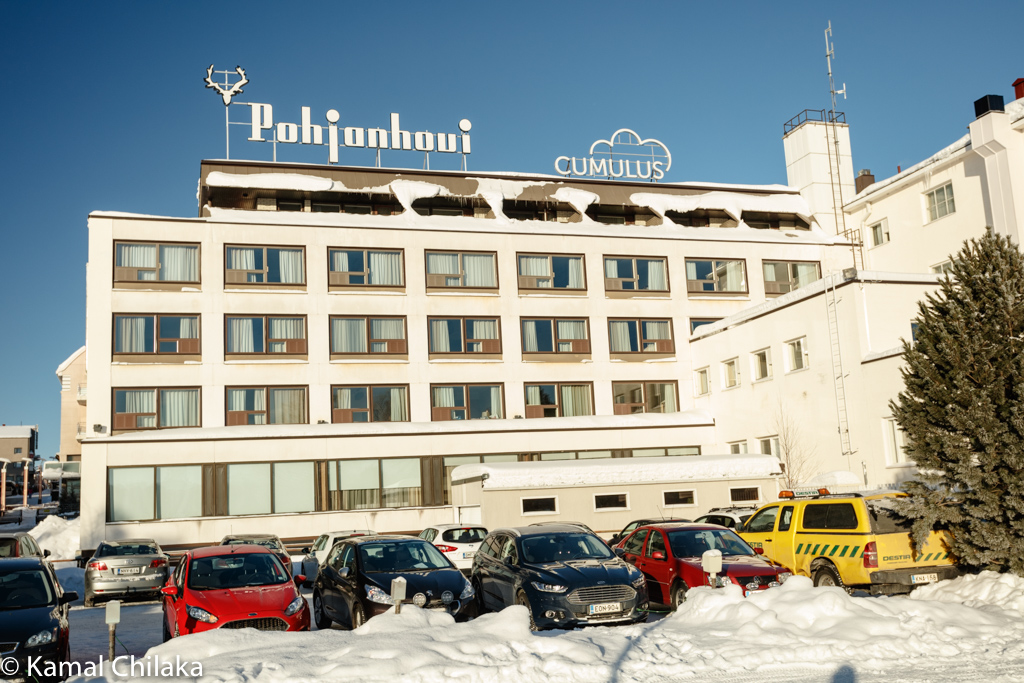
After landing at Rovaniemi Airport and collecting my baggage I quickly donned enough protective clothing to withstand the short walk from the terminal door to the free bus into the city. I was dropped off at the entrance to my hotel the Cumulus Hotel Pohjanhovi which I had booked through Booking.com and was soon checked in and up in my room with was spacious and warm.
Rovaniemi the gateway to Lapland
Rovaniemi is a nice town for starting your journey into Lapland. If you have never experienced a Nordic winter before its good to get acclimatised here and get your winter bearings. Rovaniemi has a number of good tour and safari operators who can help you with a number of Lapland activities such as trips to Reindeer Sleigh rides and farm visits, husky tours, snowmobiling, snowshoeing and even night safaris to watch the northern lights.
If you are traveling with family and young children a trip to the Santa Claus Village and and Santas post office would be a good place to start.
I was looking forward to spend time photographing the nature winter walks in and around the city.
Having slept well during my long haul flight after a brief rest at the hotel I was into my winter clothing and out with my camera doing a recon of the area around the hotel which was located on the banks of the Kemijoki River. The River was mostly frozen over and a blanket of snow had covered the frozen river. I could spot people river fishing through holes in the ice and I also watched a group of snow mobiles returning from a safari which was quite fascinating to watch as they drove across the frozen river led by an expert .
It was golden hour as I was exploring the river bank and was able to capture a couple of nice images.
I started to feel cold as the sun dipped below the horizon and decided to head back to the hotel and get myself a warm drink and some dinner before retiring for the night. I ensure I had all my batteries charges and memory cards loaded and gear ready for my first full day of shooting at the Arctic Circle.
Day 1-Day 4 Rovaniemi
Where to Stay at Rovaniemi
Rovaniemi Offers a number of hotels and Apartments to stay at but winter is a very busy time specially during Christmas and accommodations can get fully booked a month or more in advance so book early.
I stayed at the Cumulus Hotel Pohjanhovi due to its location close to the river and also the rating and reviews from users. it turned out to be a good choice. The rooms were of a reasonable size and nice and warm which was a welcome relief after walking around in the cold for 5-6 hours a day.
But there area number of cottages and bed and breakfasts also available but can have little or no services and located remotely which will then require your to rent a car.
I managed without renting a car the entire trip as I was hesitant to drive in the icy winter conditions there. But I must mention the roads were all well maintained and clear and traffic was moving along well on the highways.
A few hotels which I found interesting during my search
Hotels at Rovaniemi with good reviews
Mid Range
Luxury
Video about my experiences exploring the Banks for the River Kemijoki
Exploring the Bridges Walk
The 2 Bridges Walk is a picturesque walk along the banks of the Kemijoki River with crossings over the two bridges namely the Jätkänkynttilä, or Lumberjack Candle Bridge and the Old Railway Bridge.
You can also do the 4 Bridges walk is a longer loop covering all 4 bridges which totally about 8 km long. But I decided to just stick to the shorter walk as it was just oo cold to stay out for so long.
The walk offers great views of the Lumberjack candle bridge and frozen kemijoki and ounasjoki rivers.
You can spot people walking across the frozen river and also there area few outdoor saunas along the banks where you can take a dip in the icy waters and then get into a hot water tub.
The light keeps changing continually from sunrise to sunset and you are presented with so many different options of photos.
I specially liked exploring various compositions of the line of frost covered trees along the banks. I also enjoyed capturing small details and contrasts of plants and objects sticking out from the otherwise pure white snow.
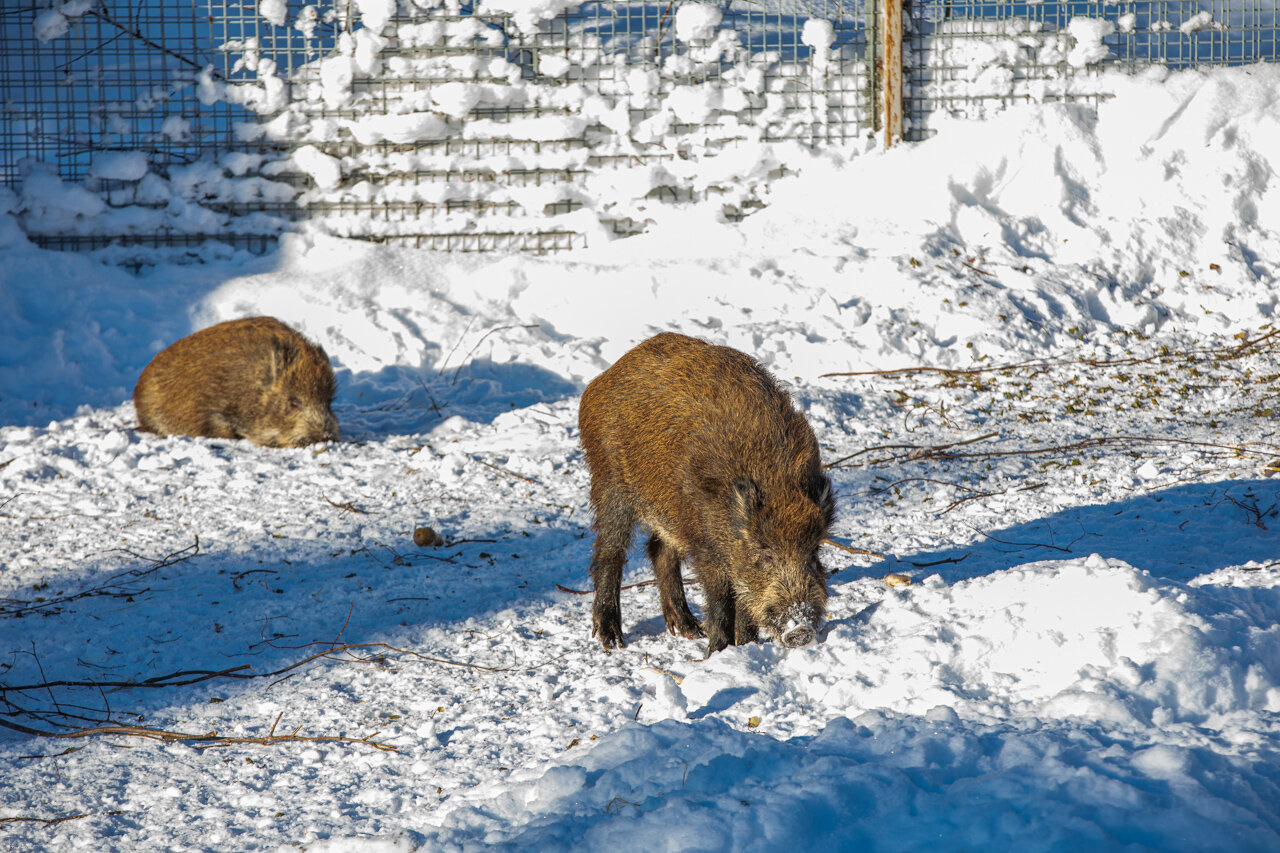
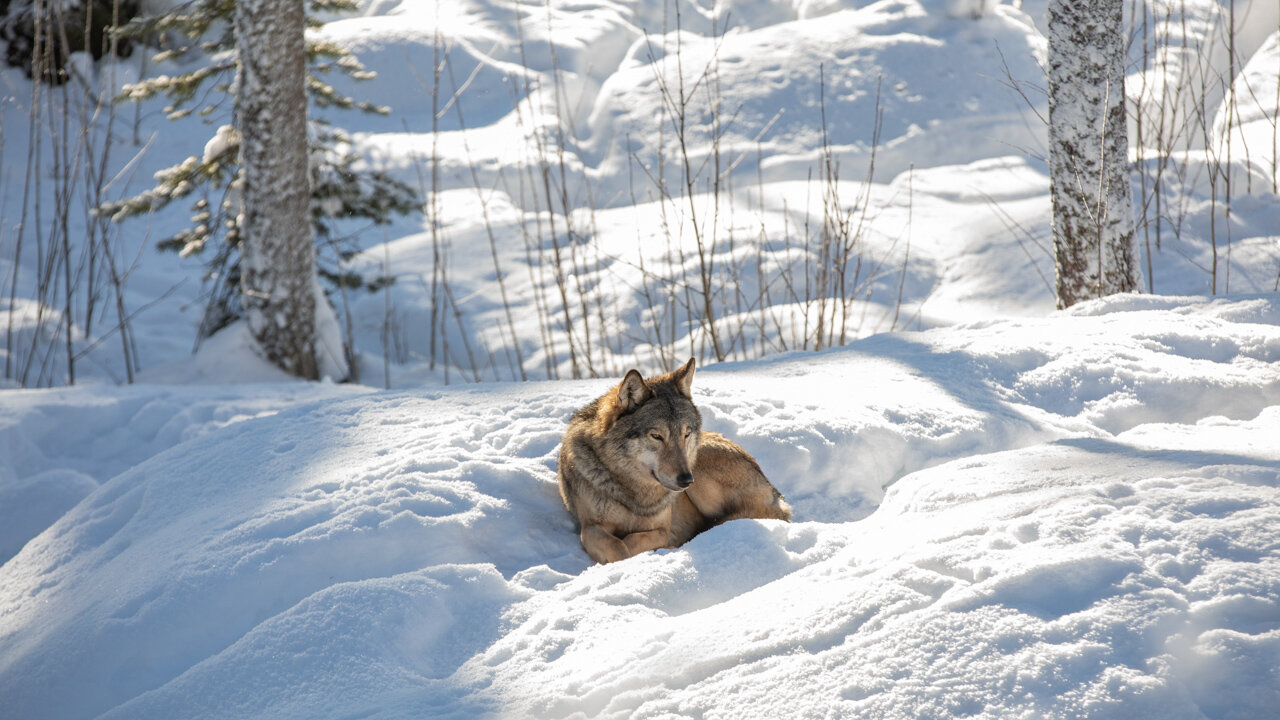
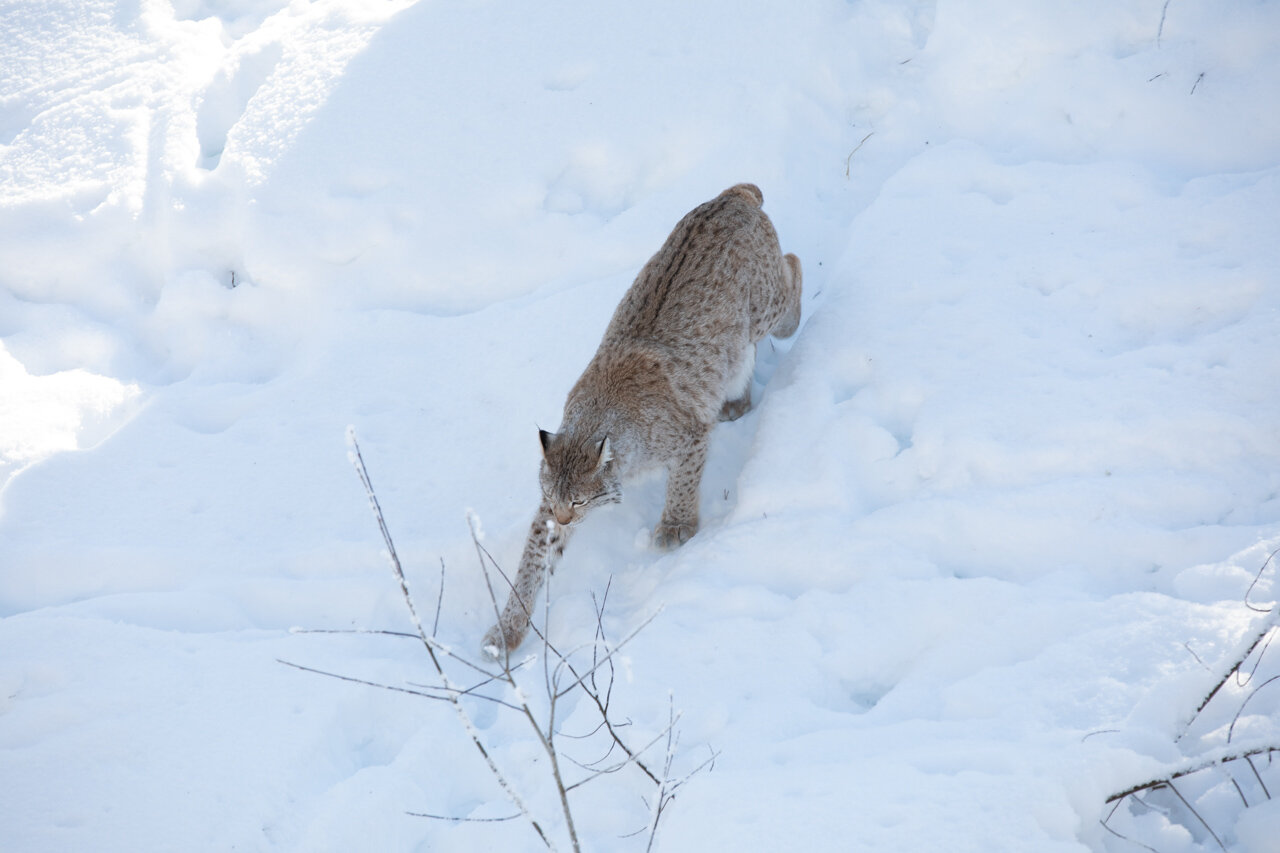
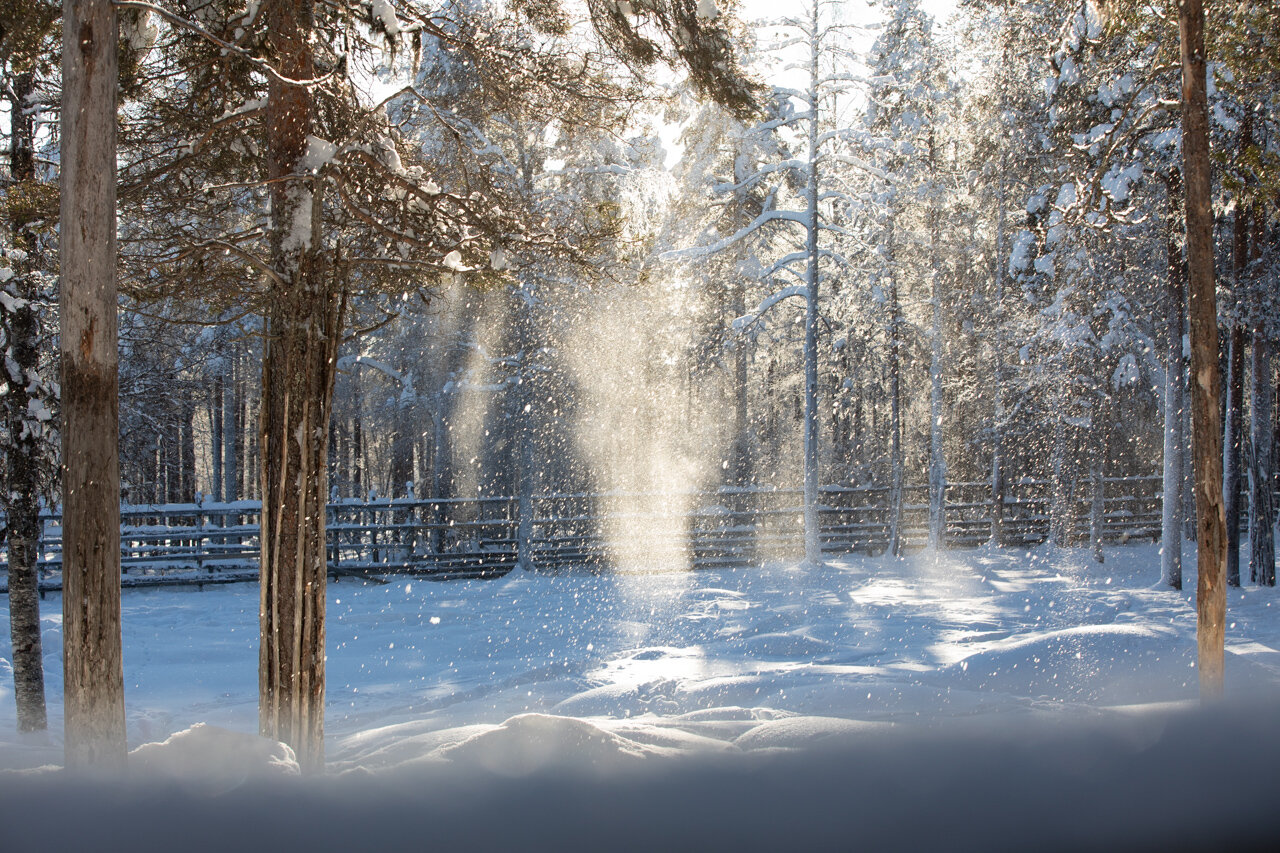
Video of my experiences Photographing at Ounasvaara Winter Trail and Ranua Wildlife Park
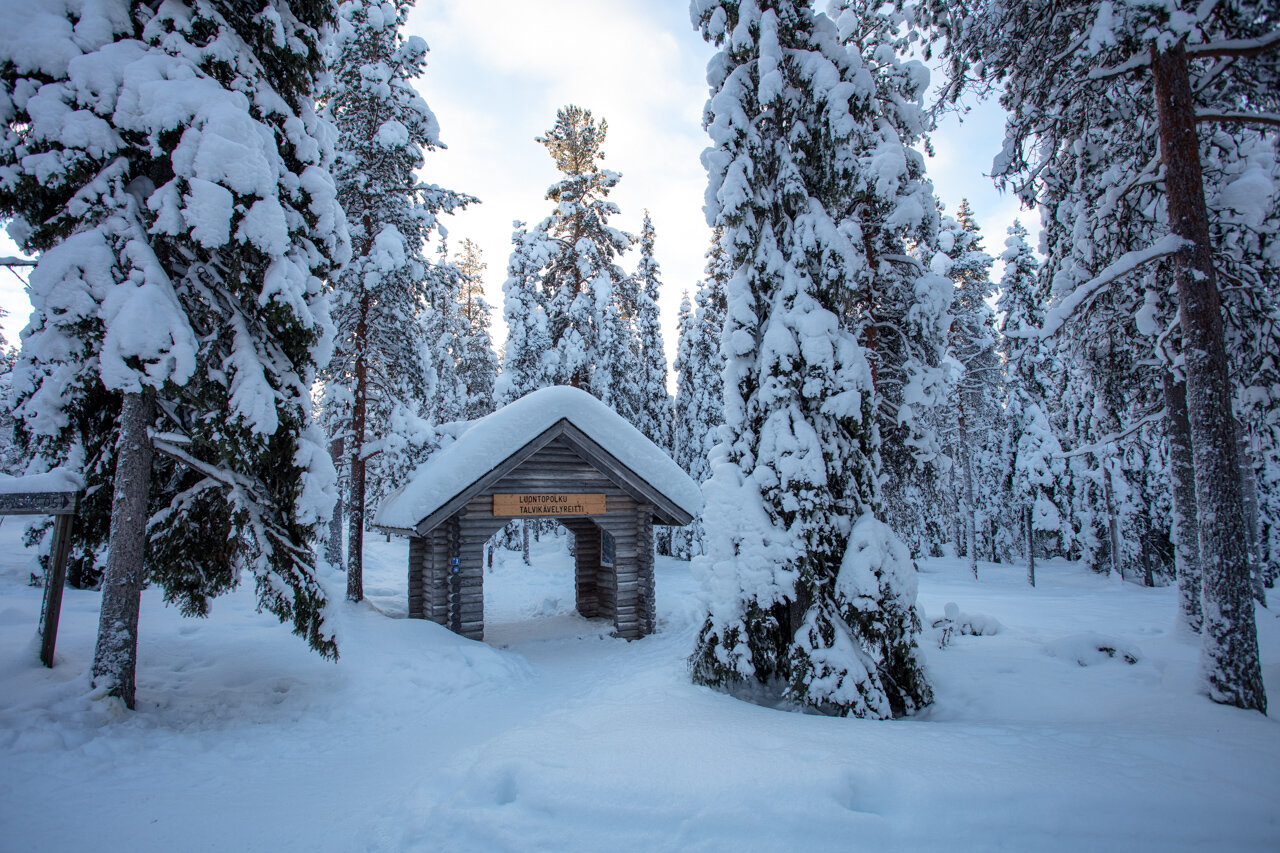
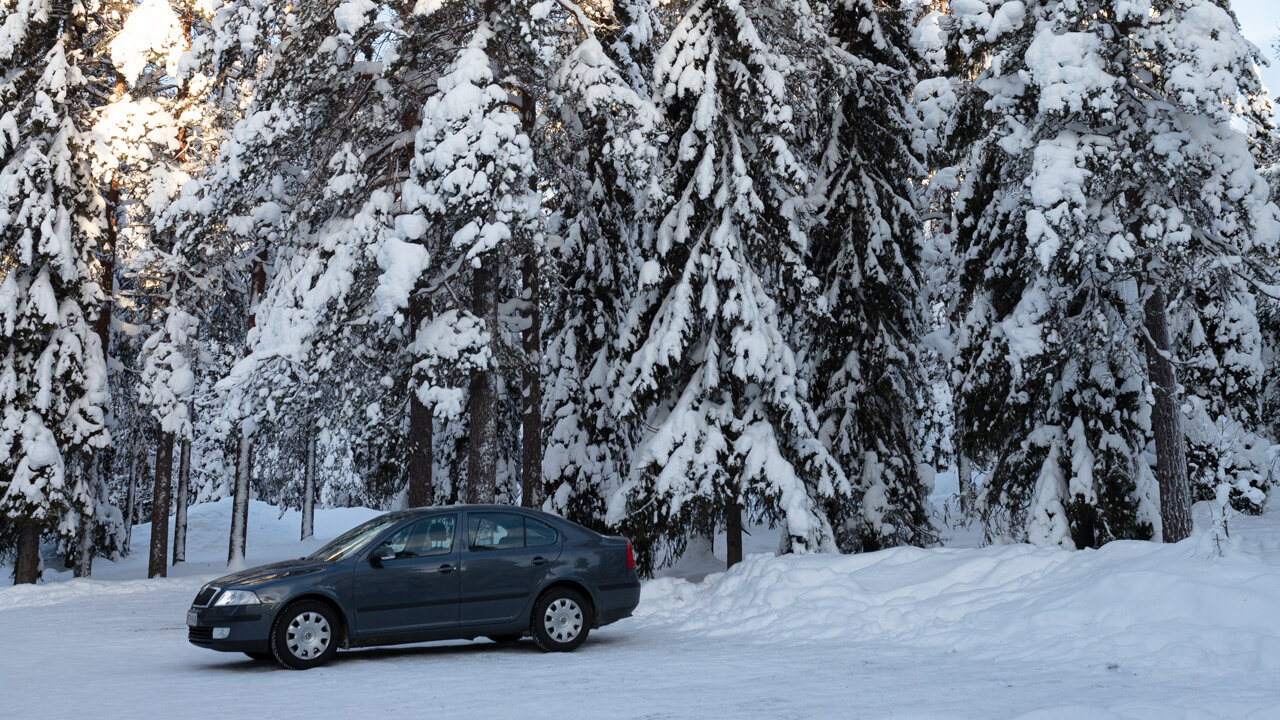
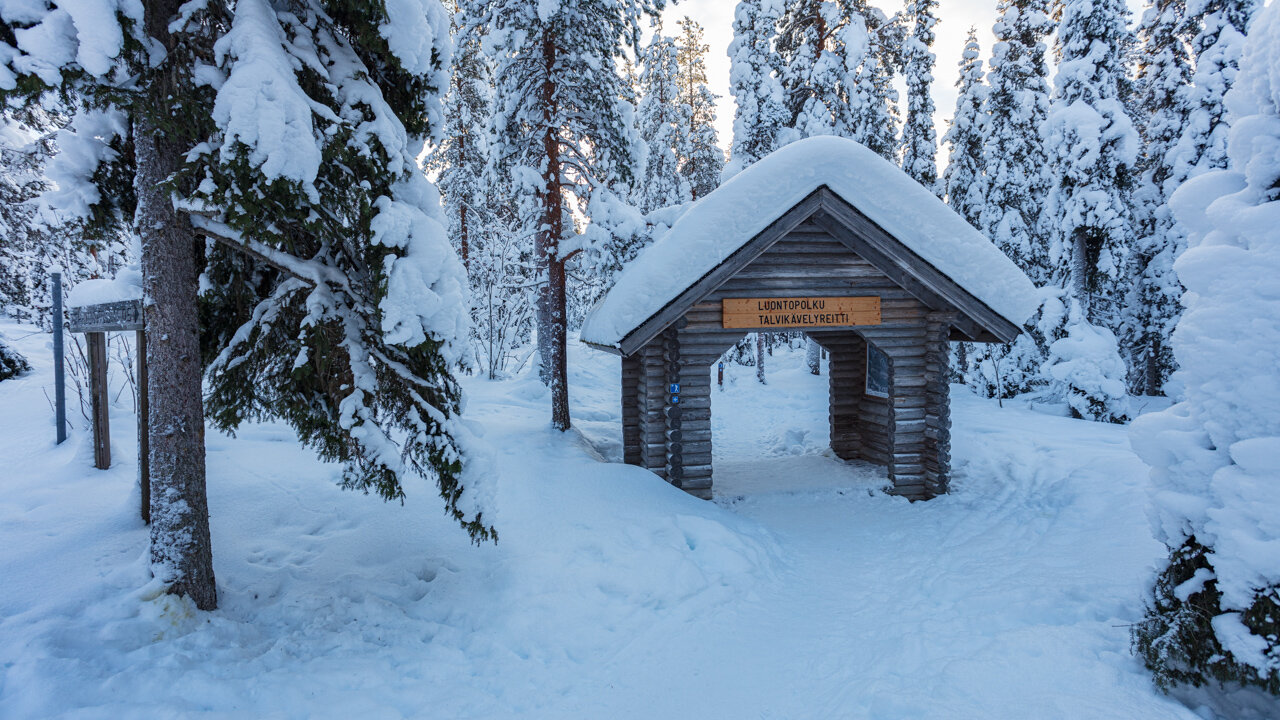
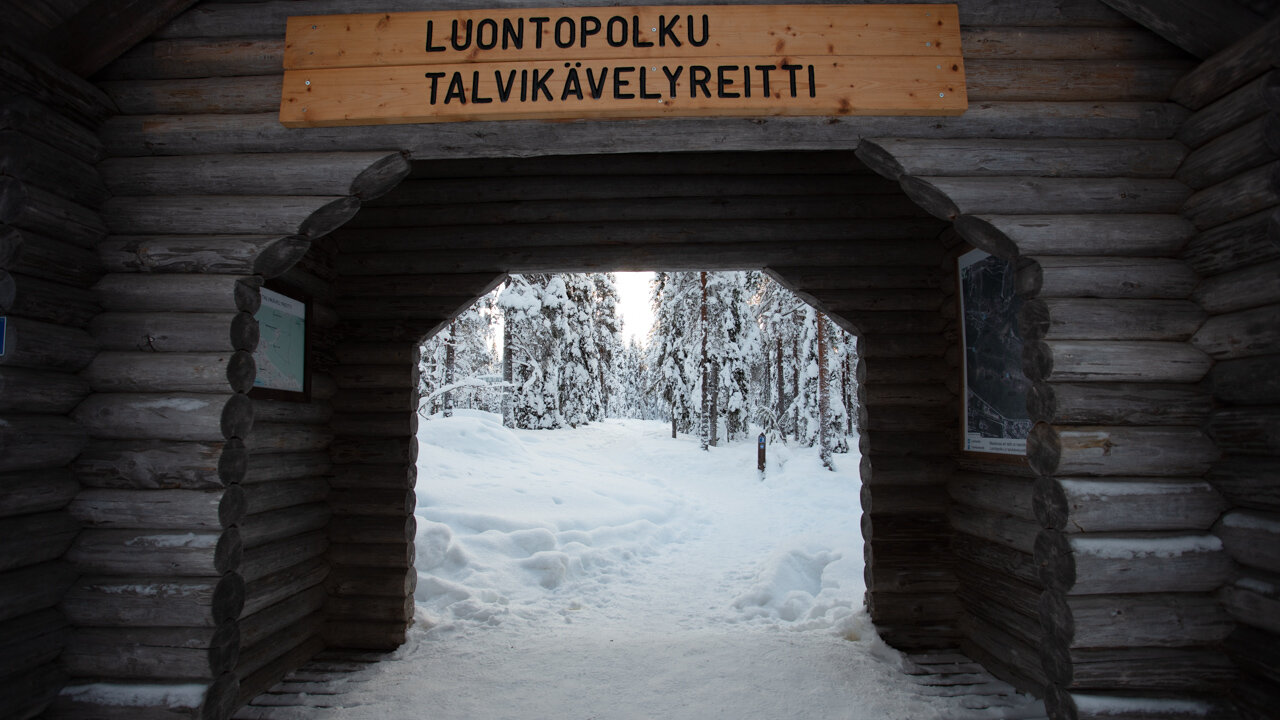
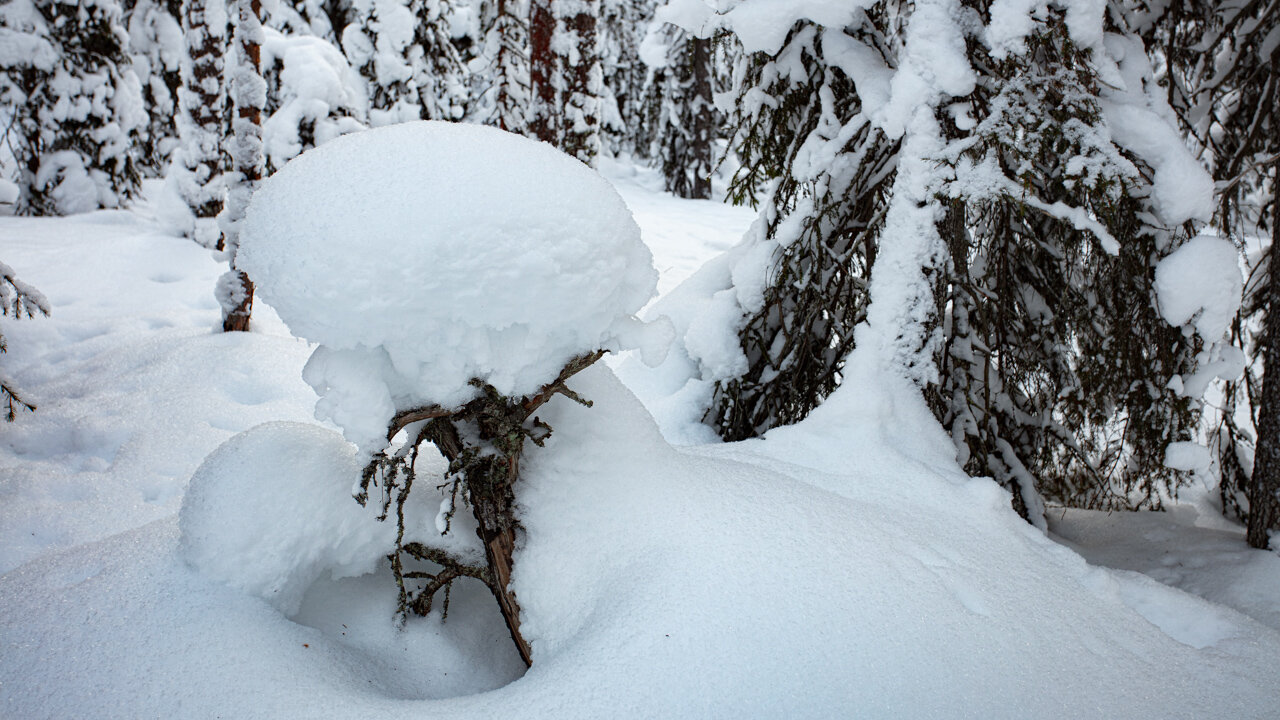
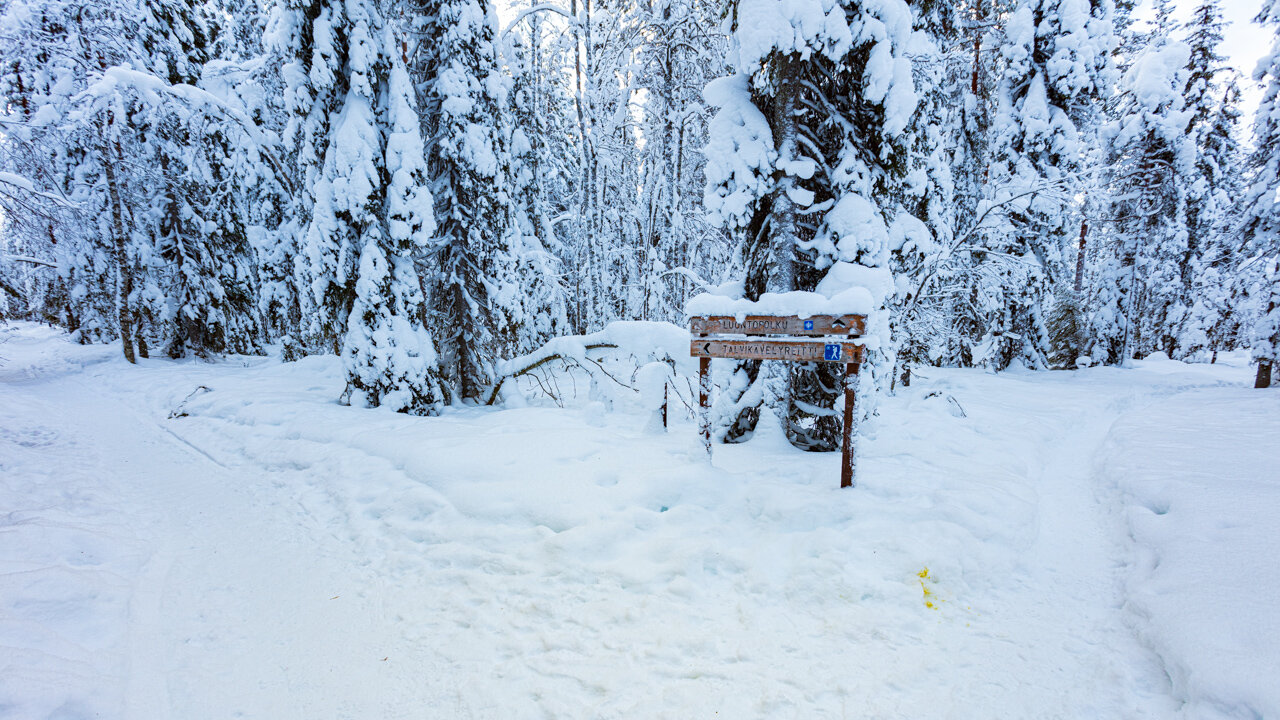
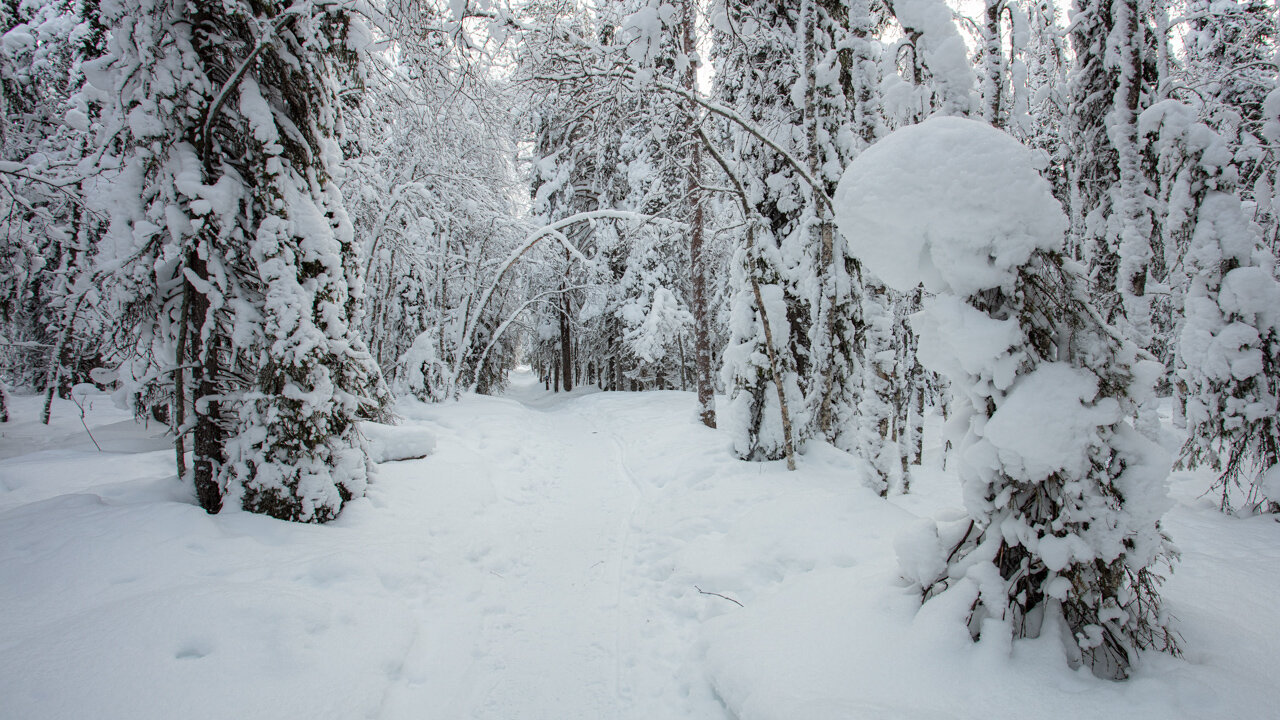
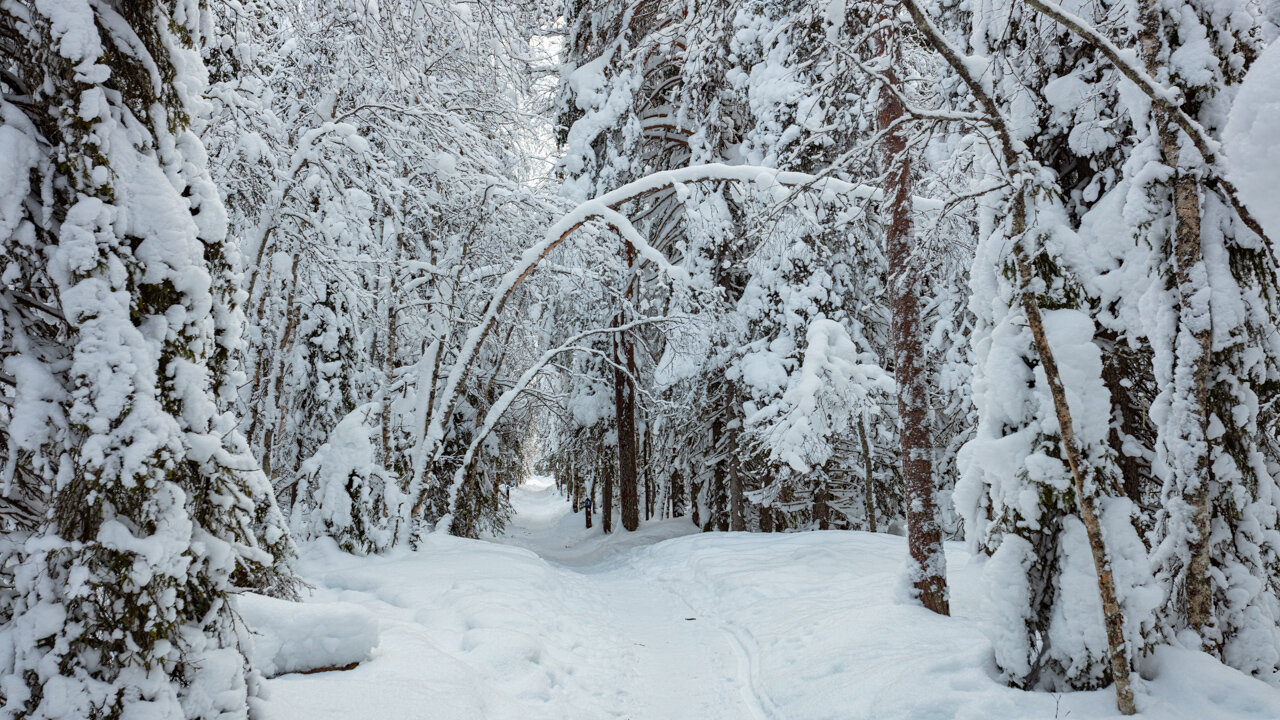
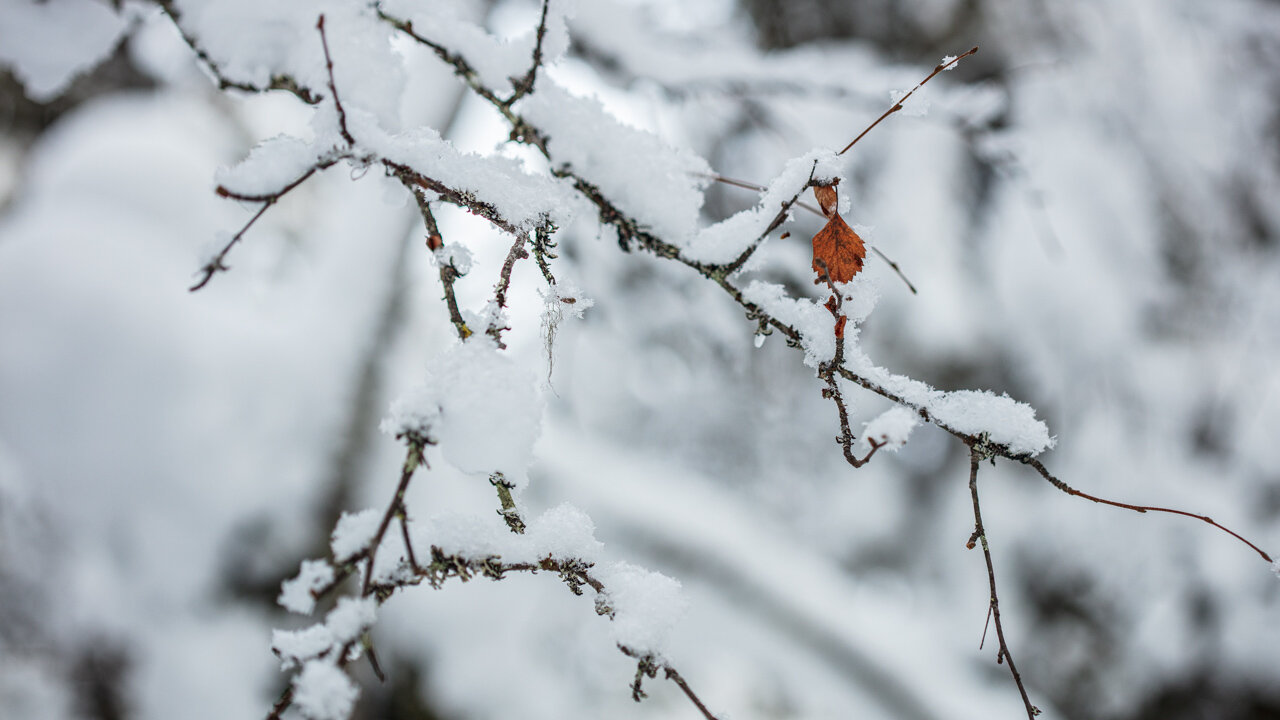
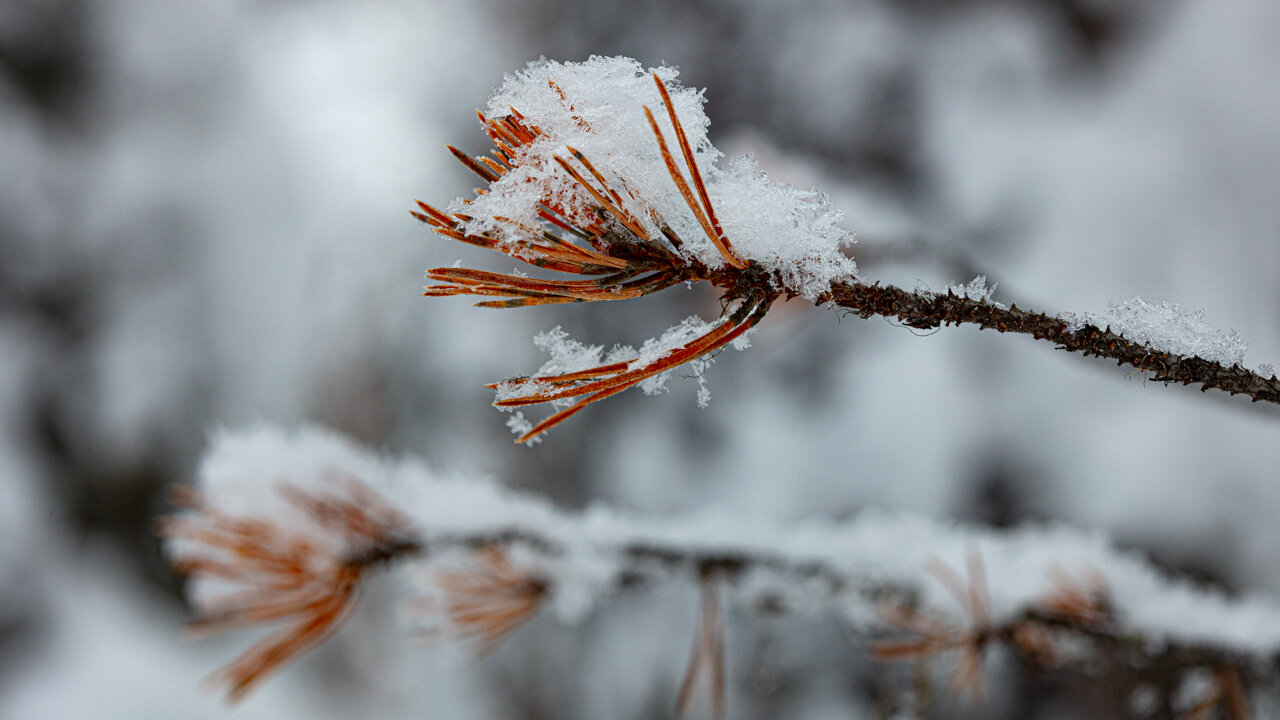
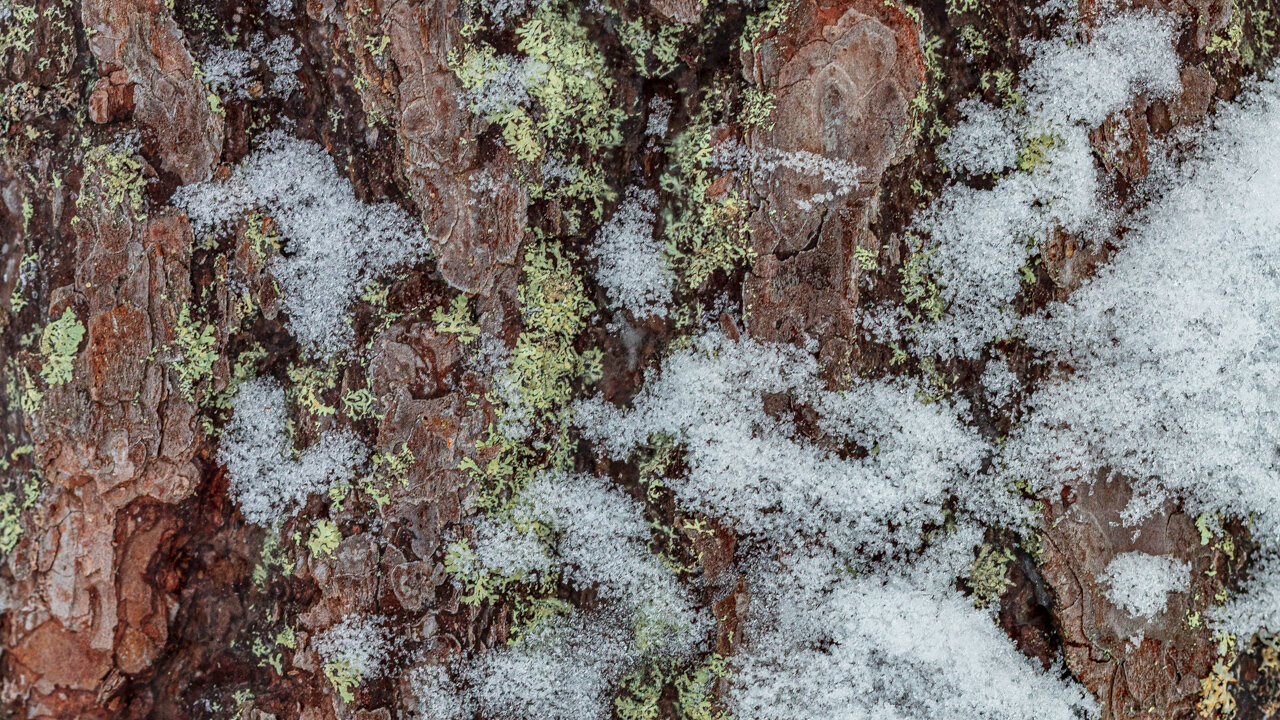
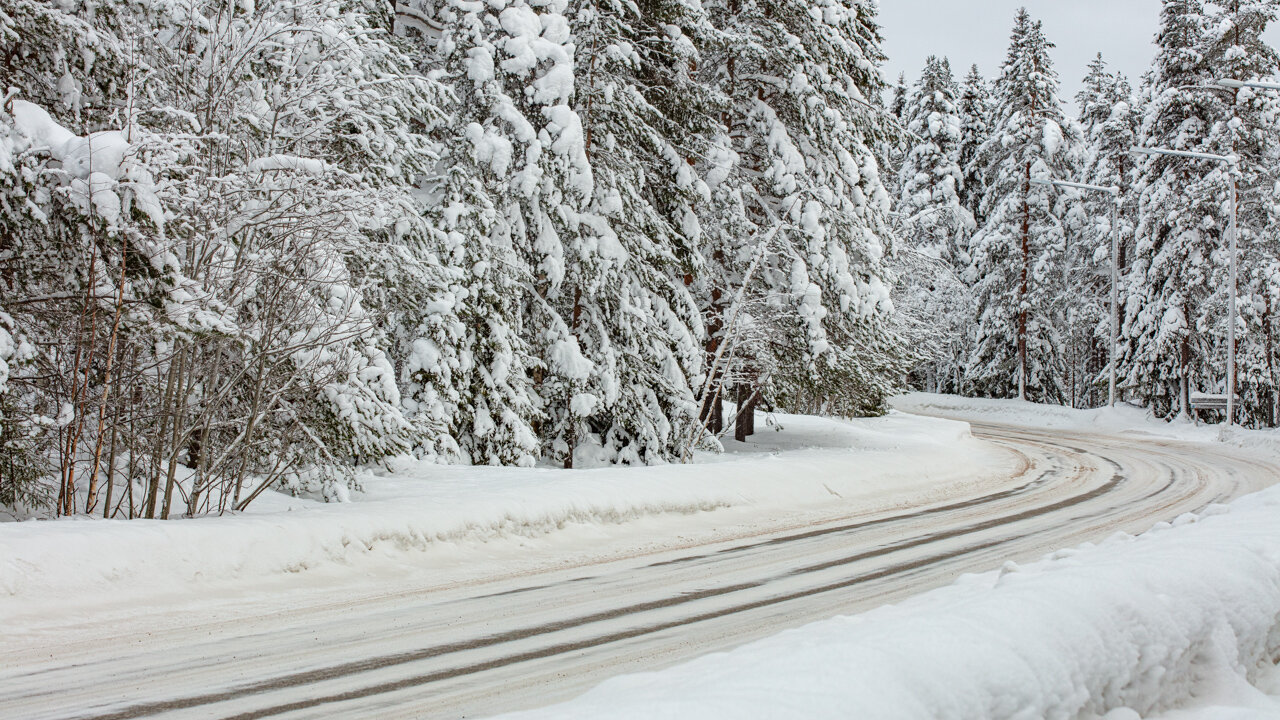
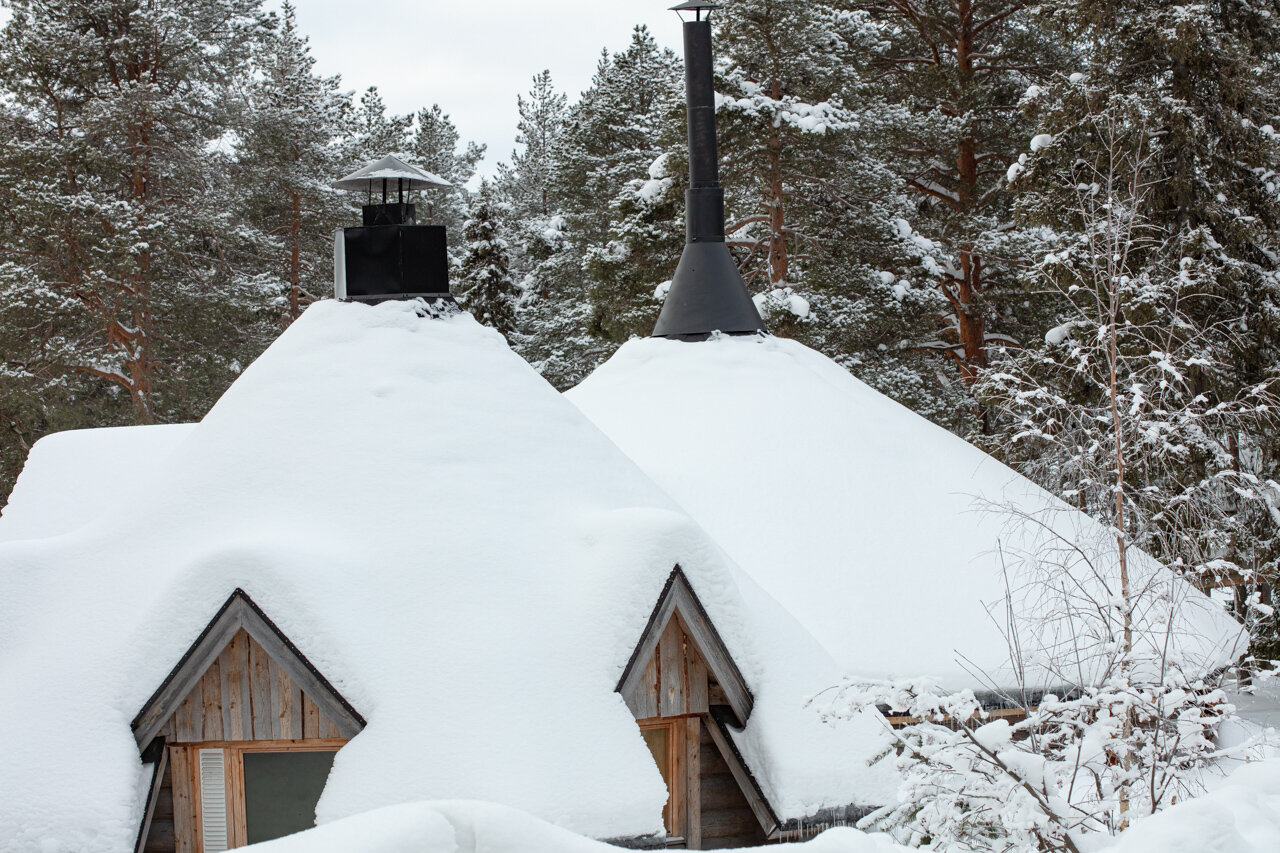
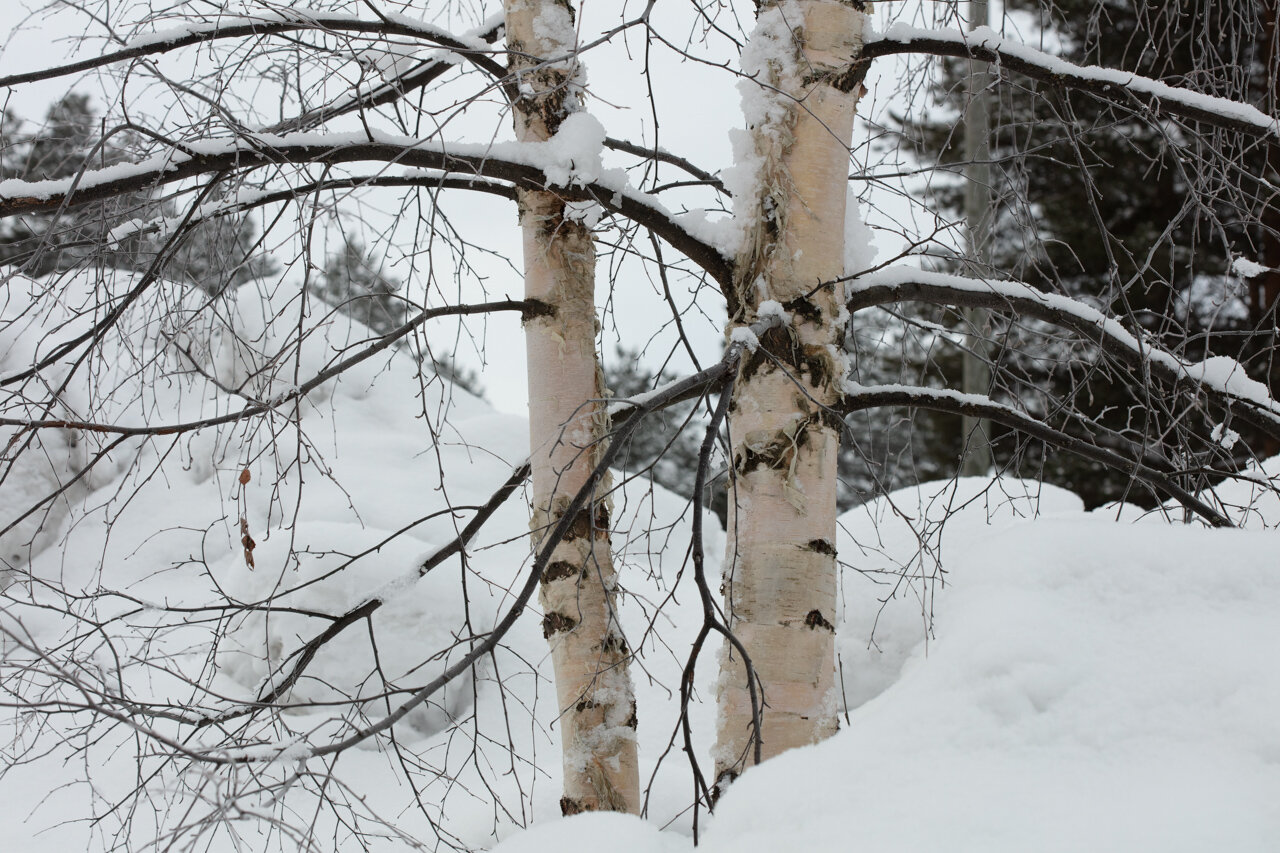
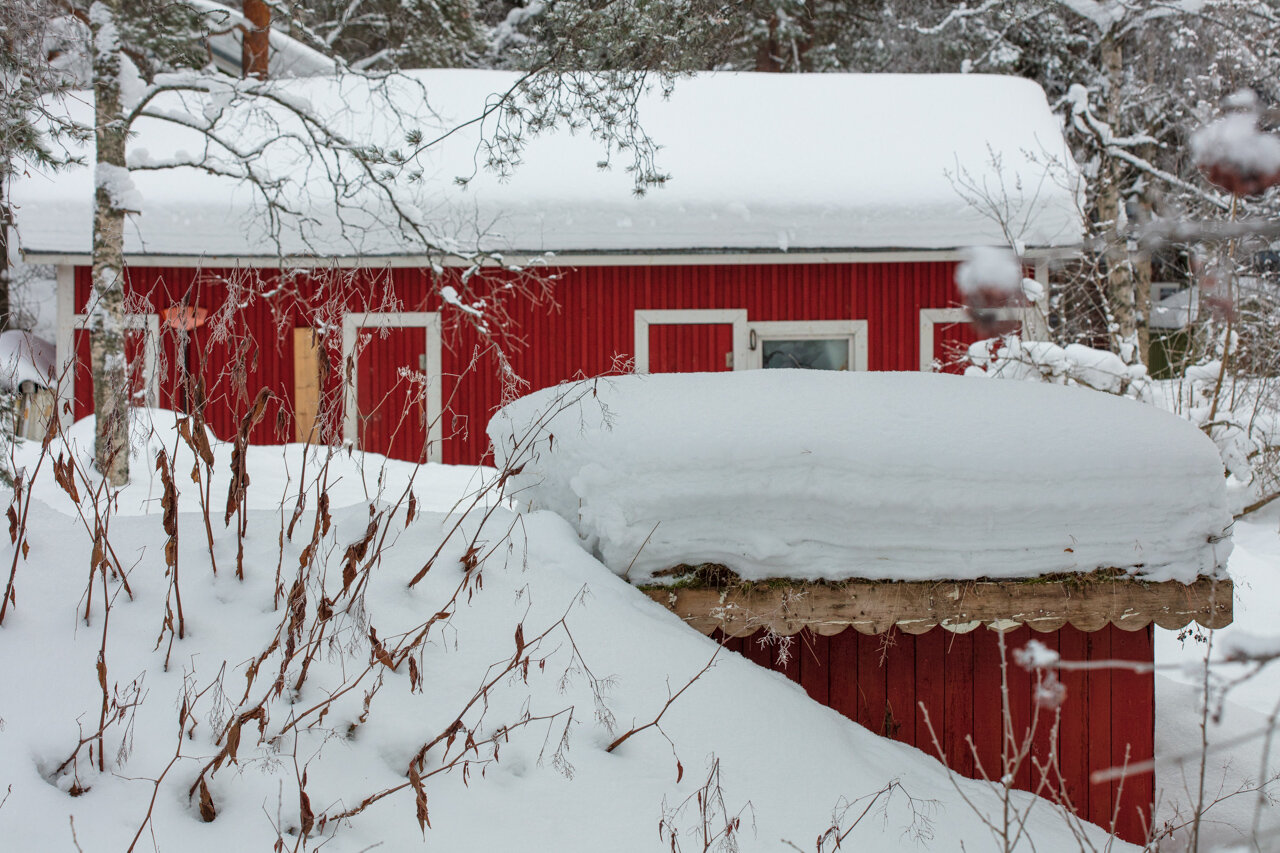
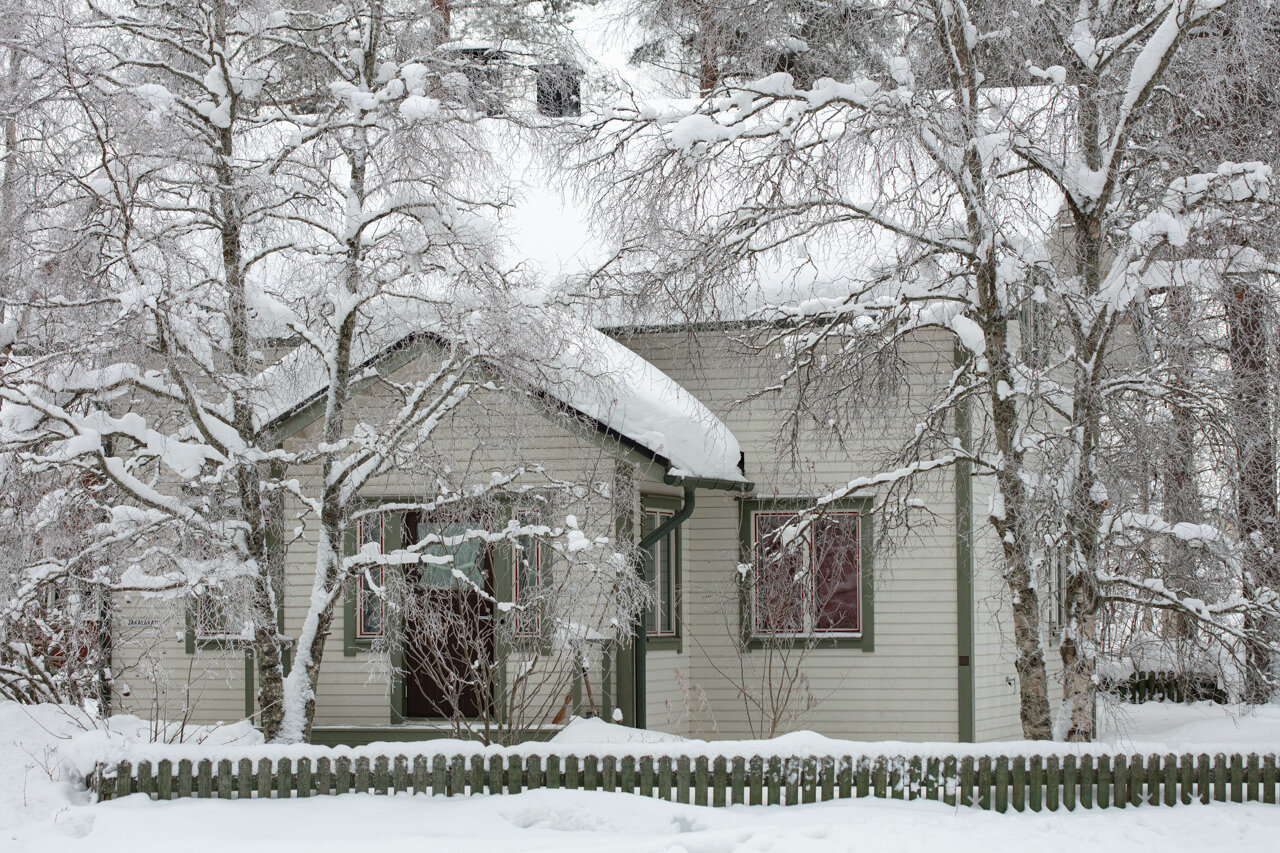
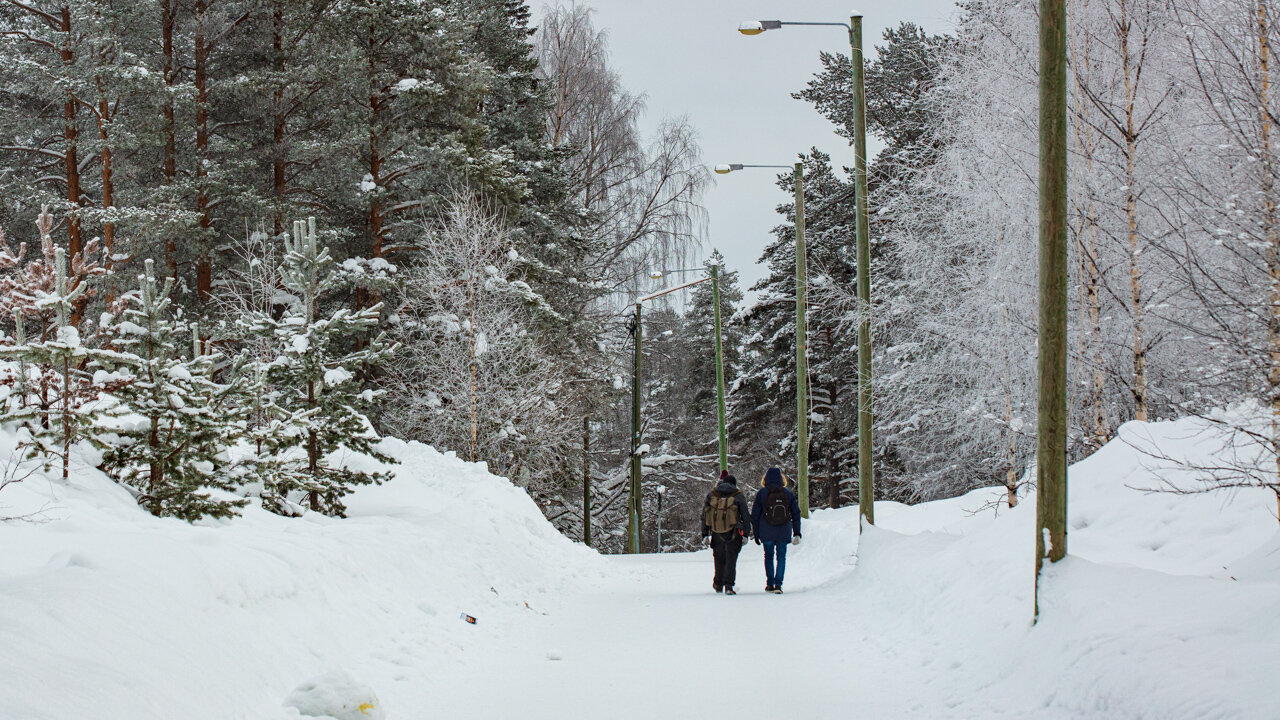
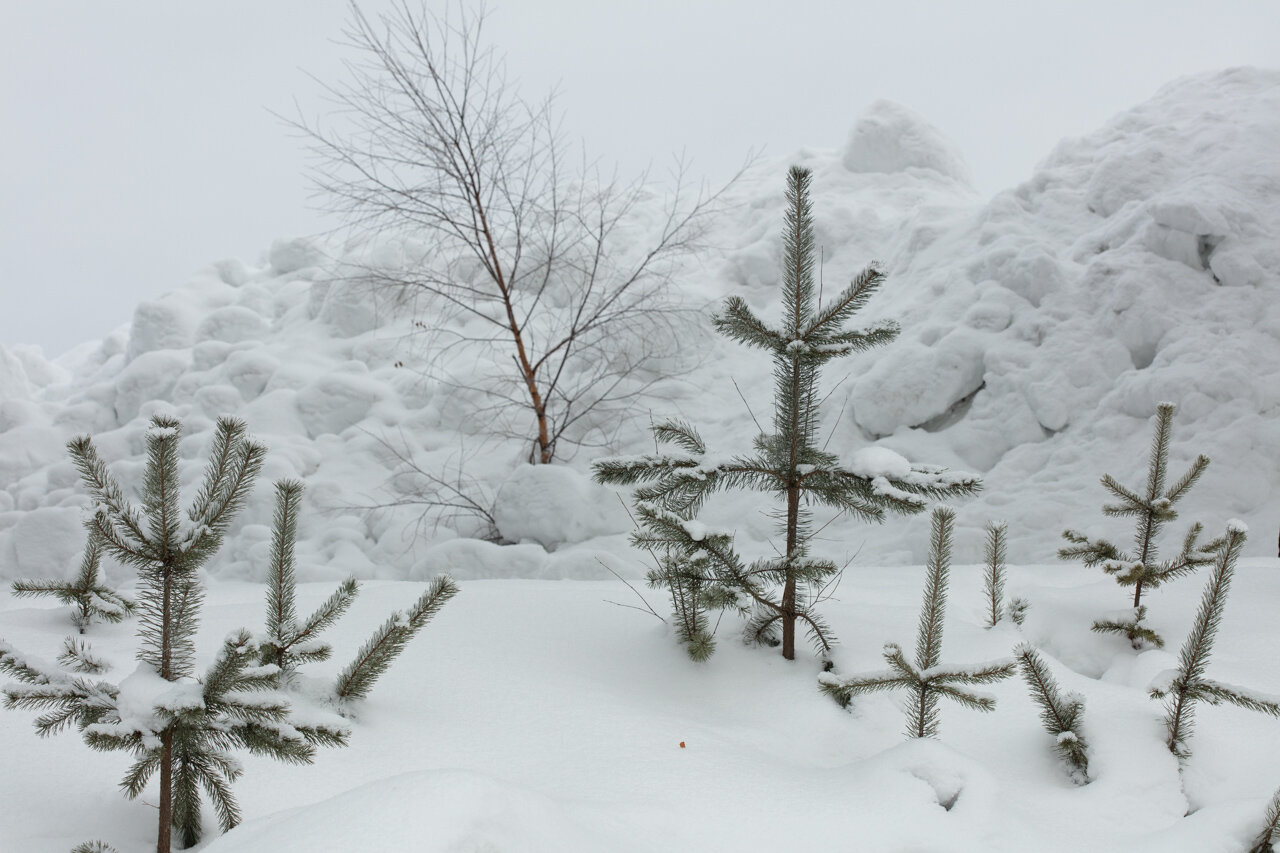
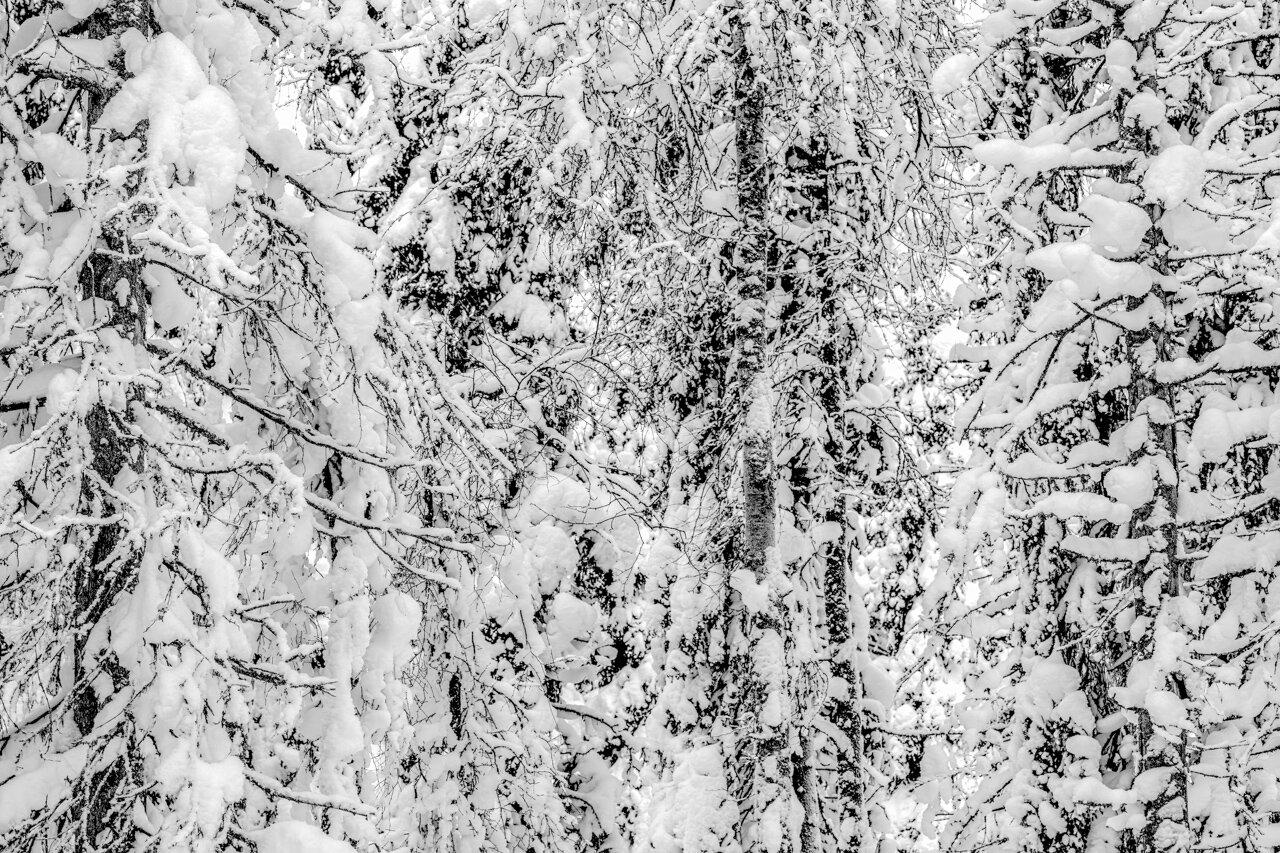
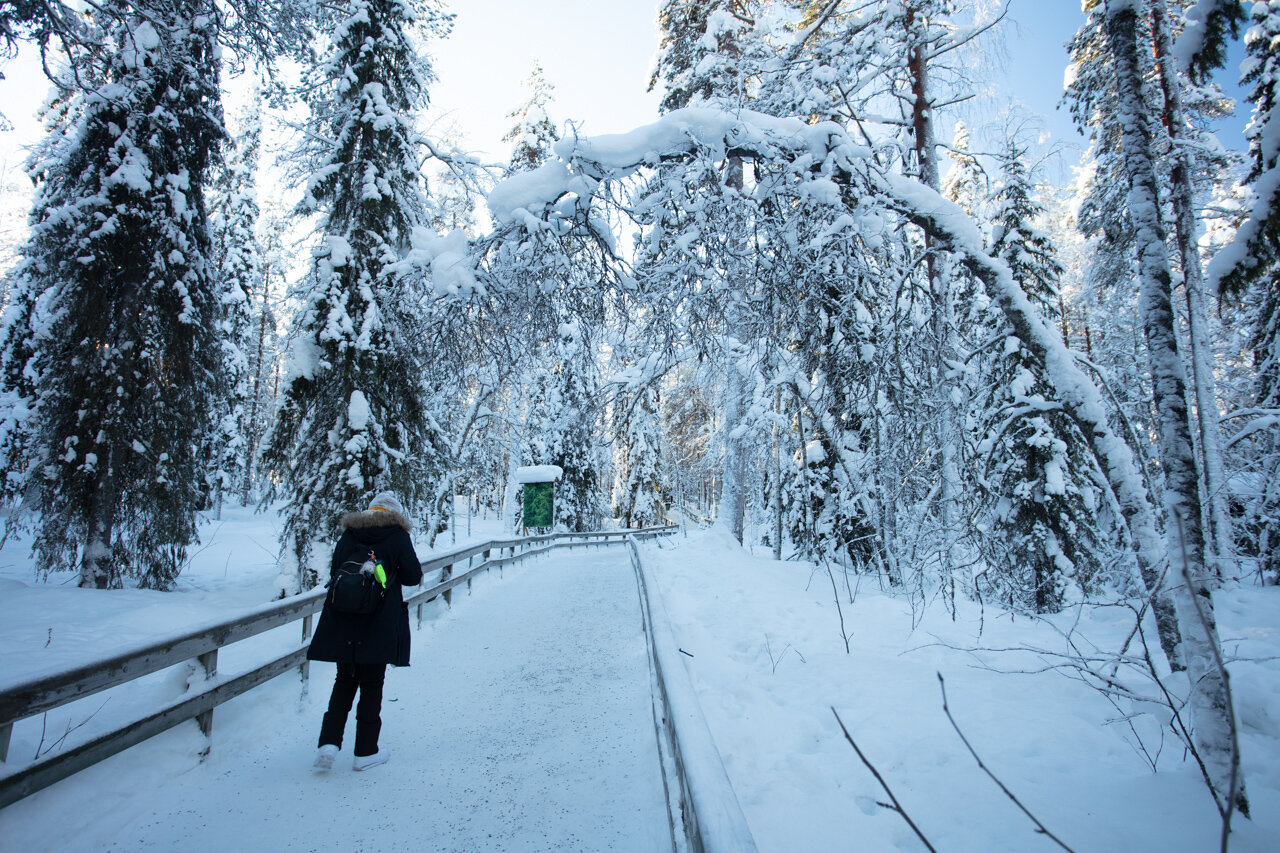
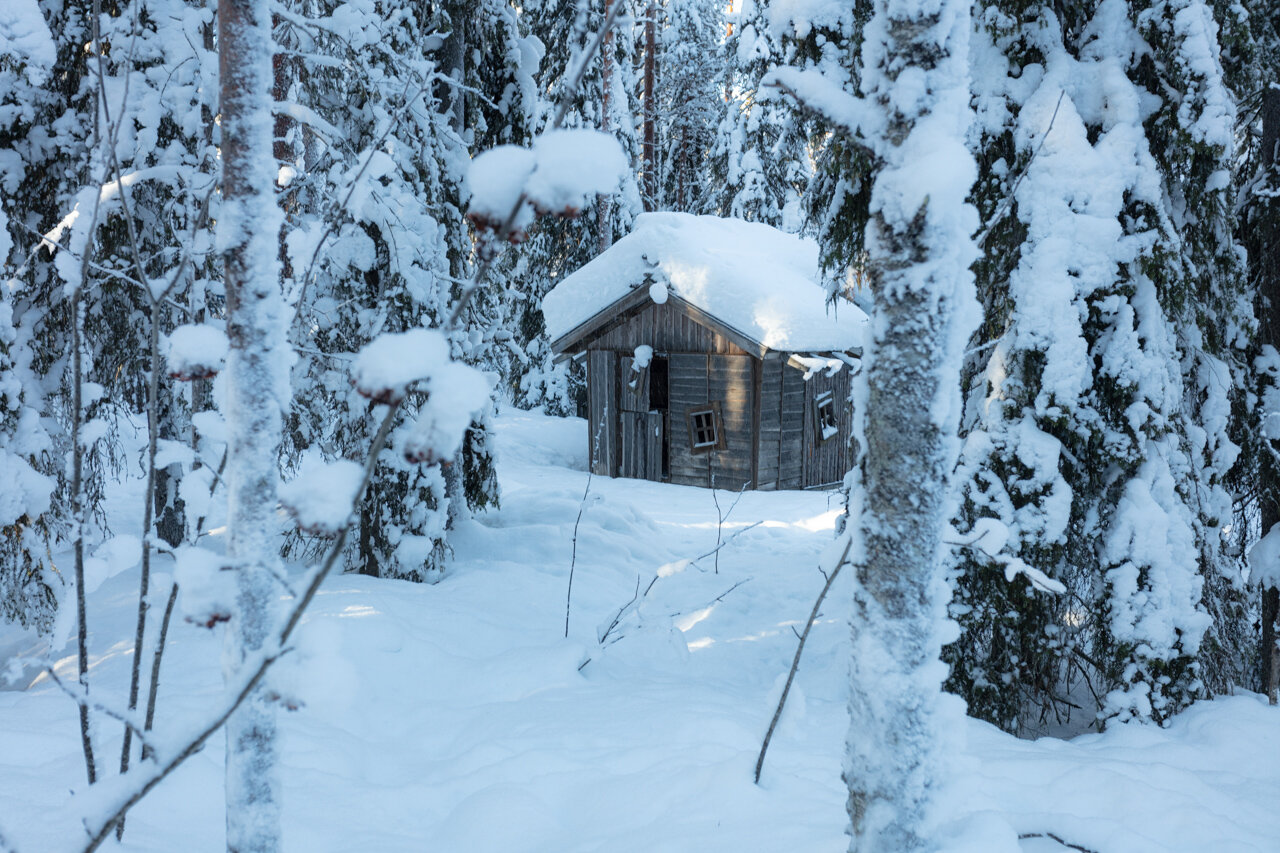
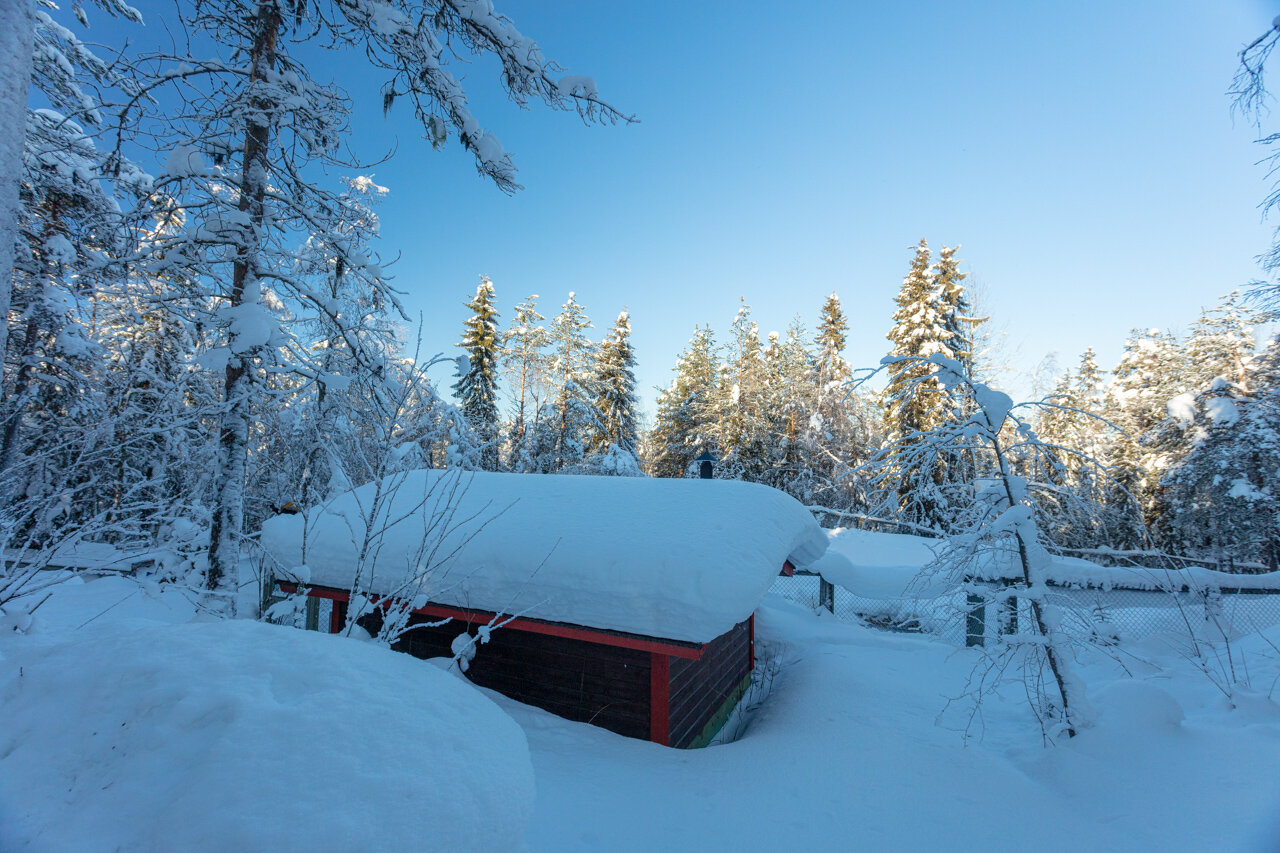
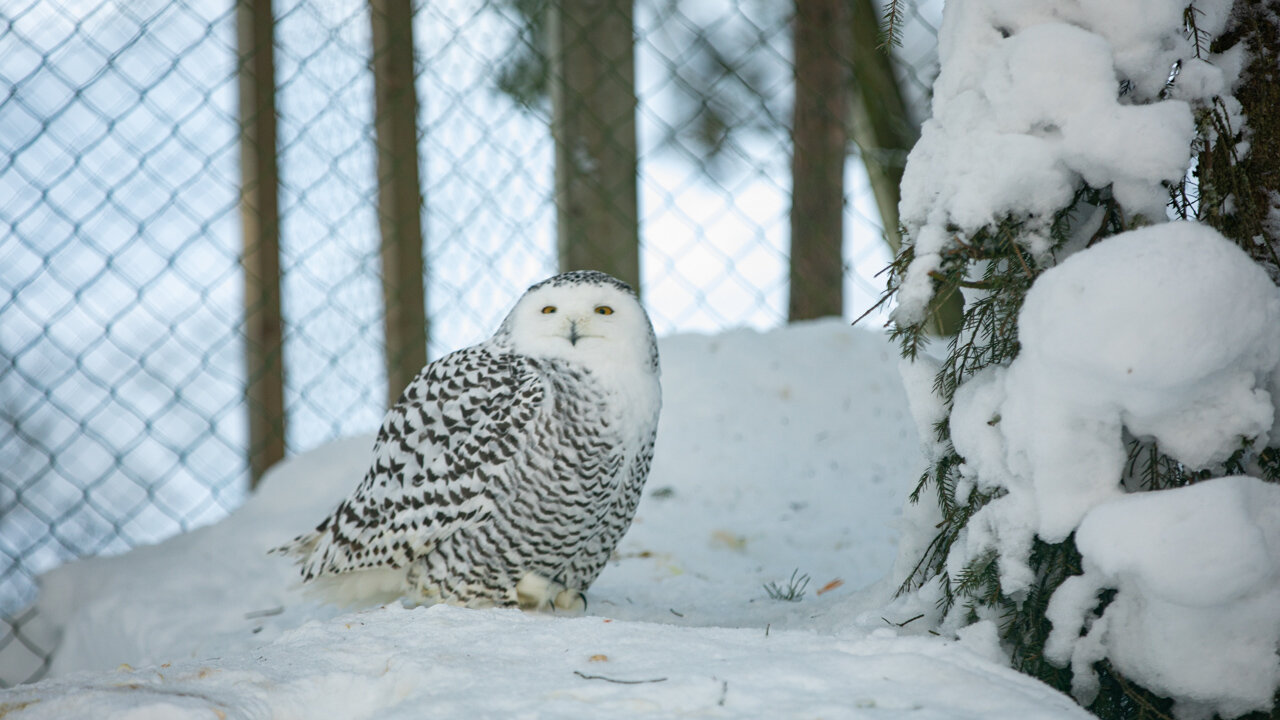
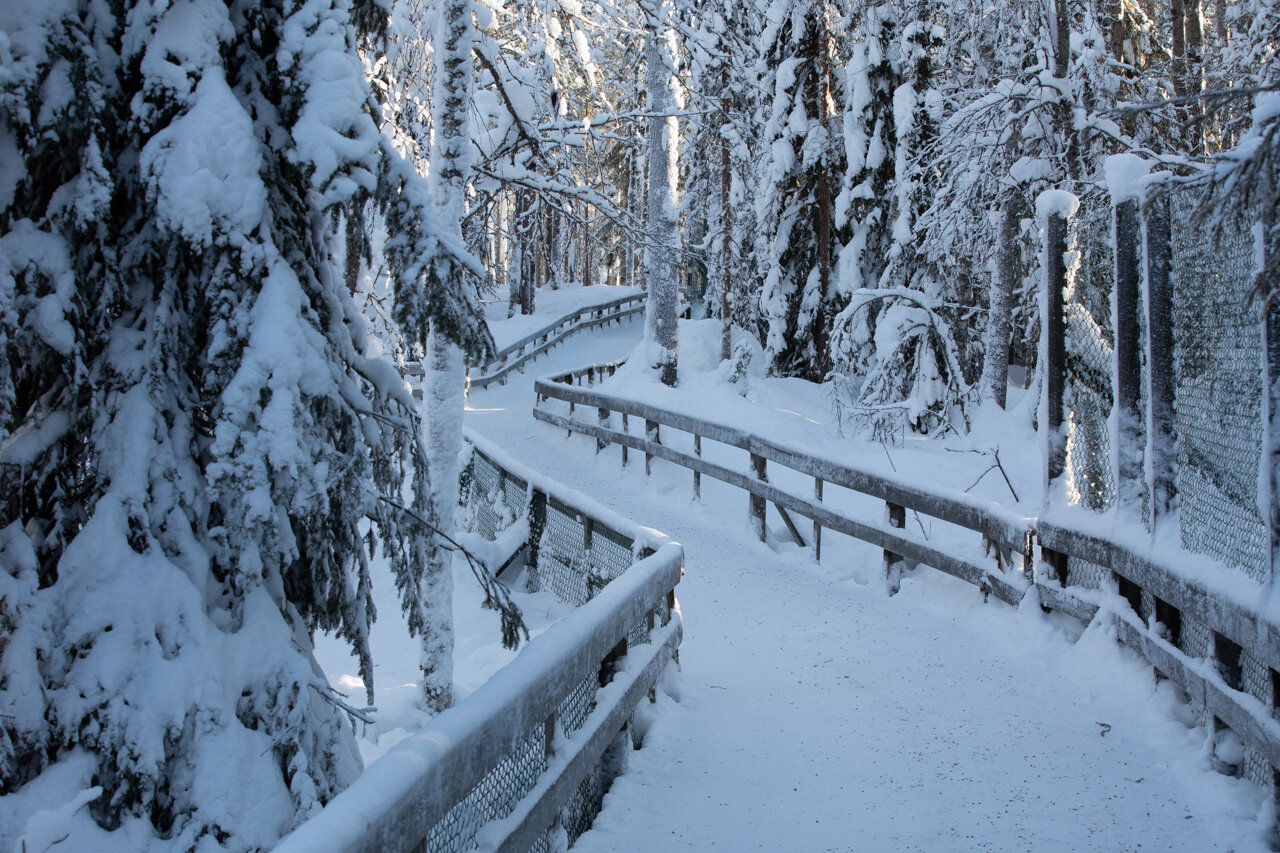
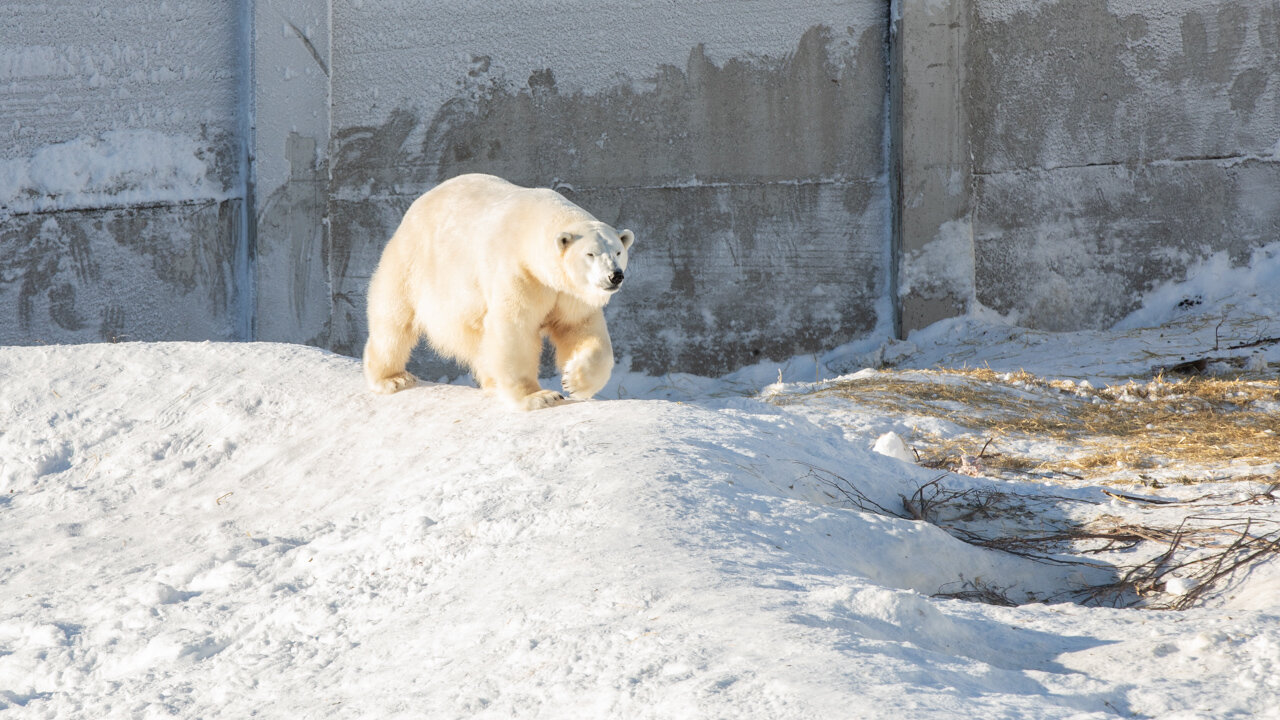
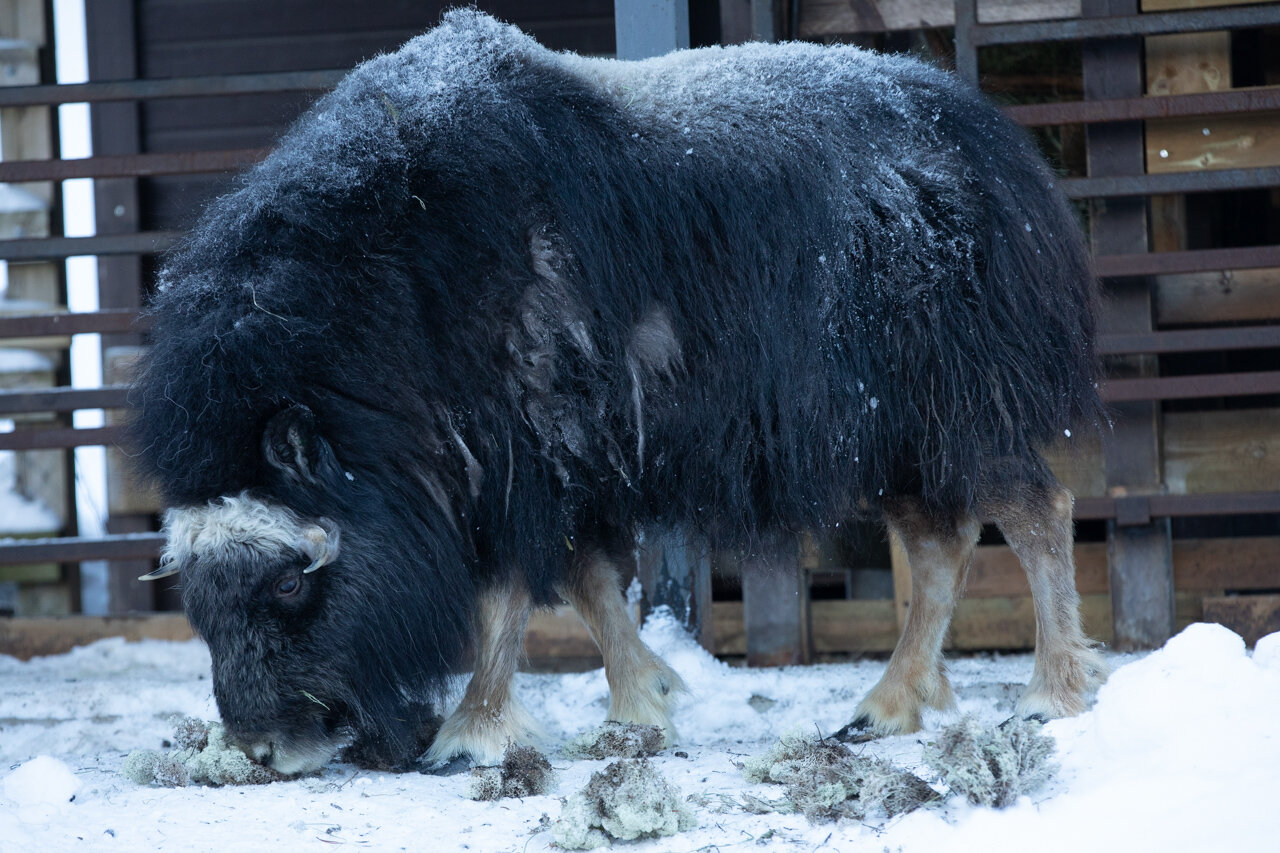
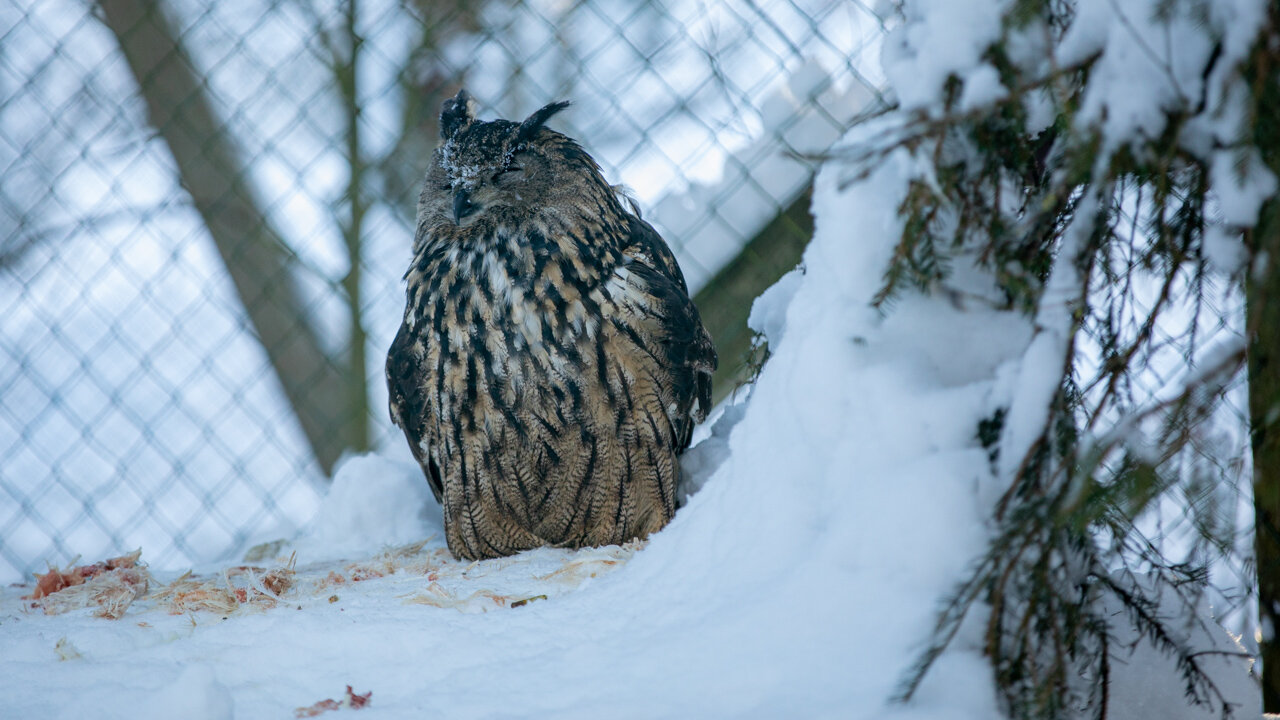
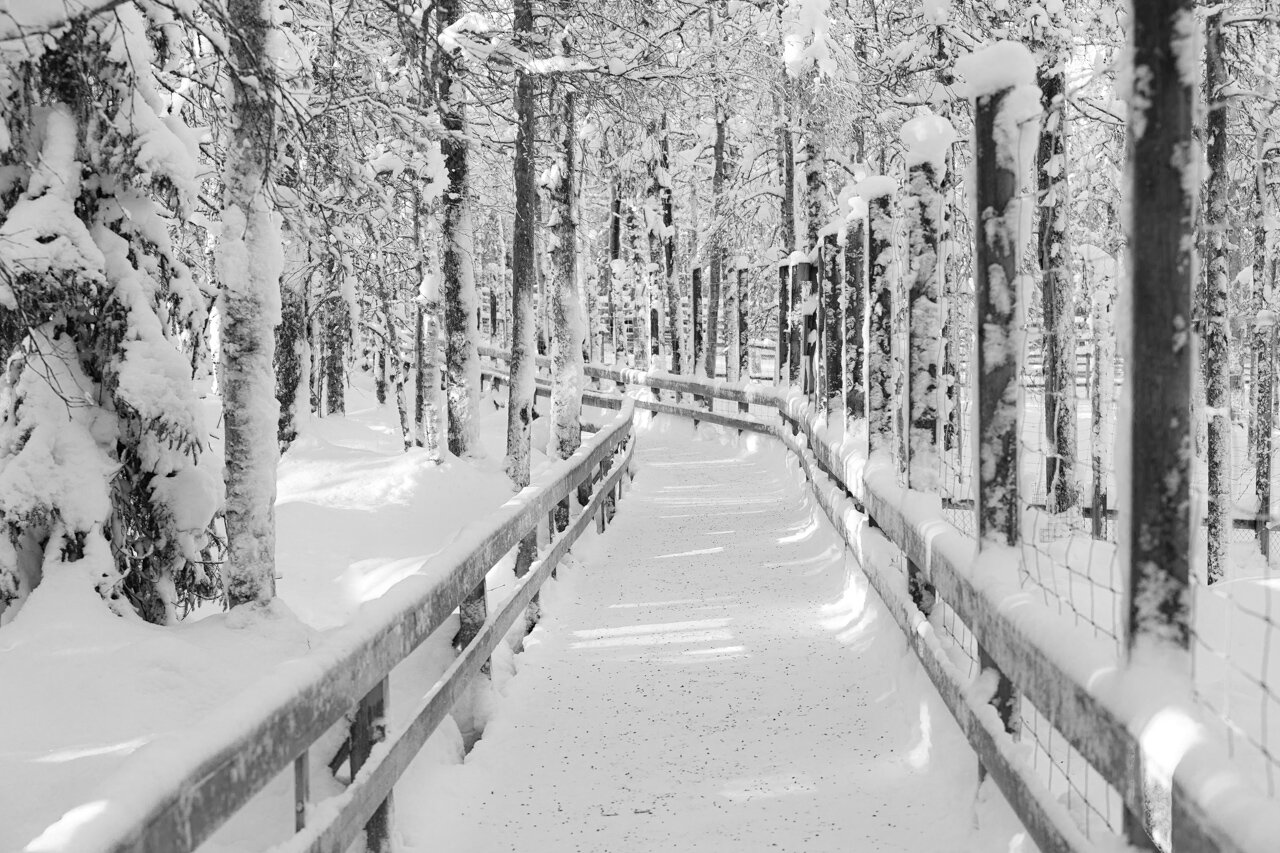
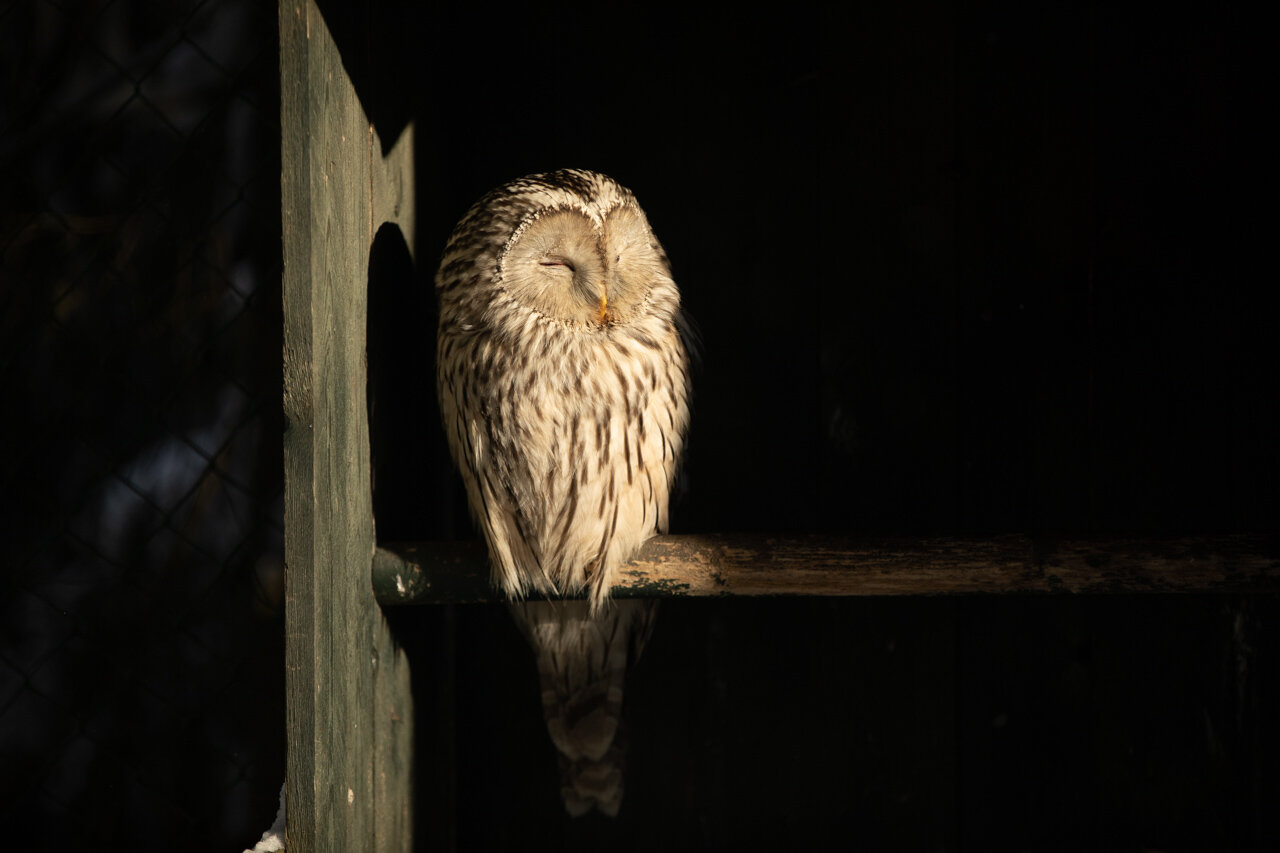
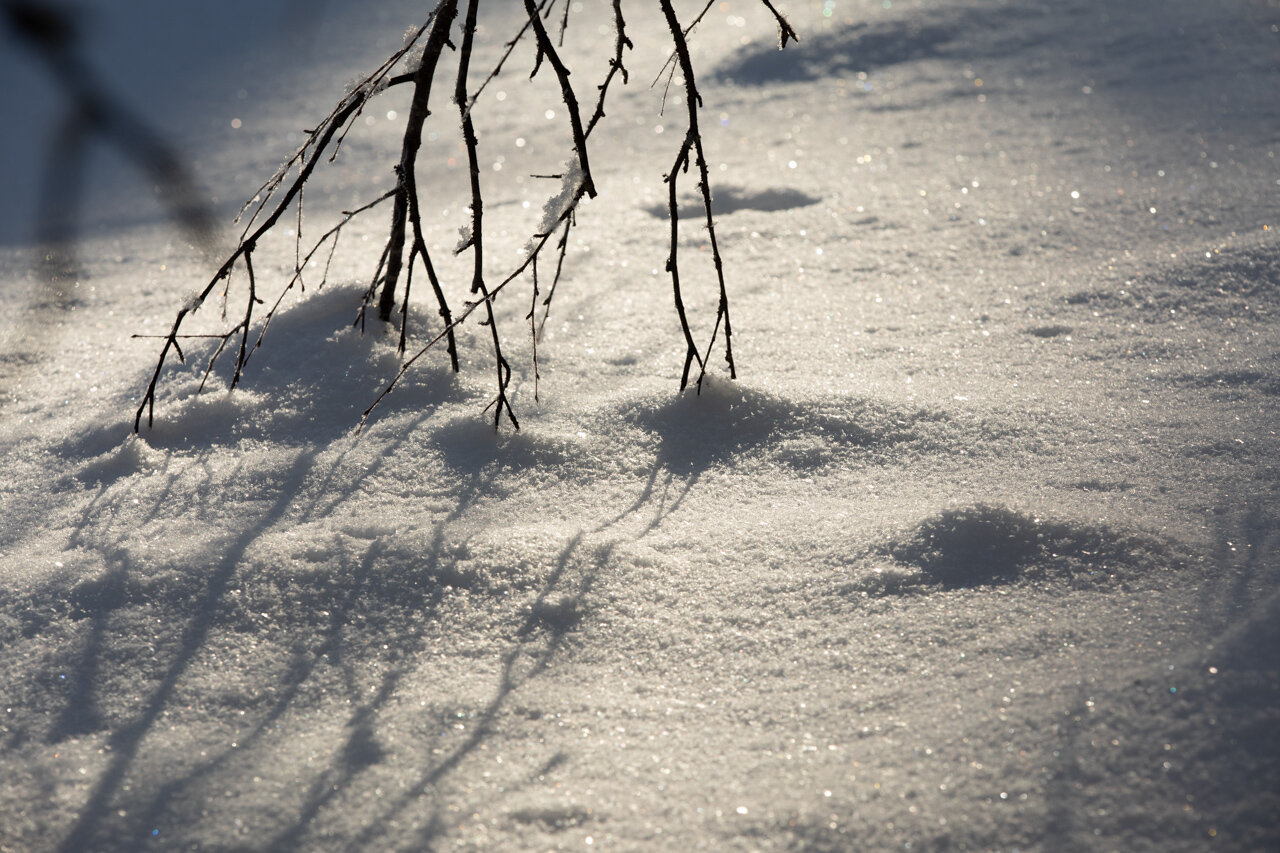
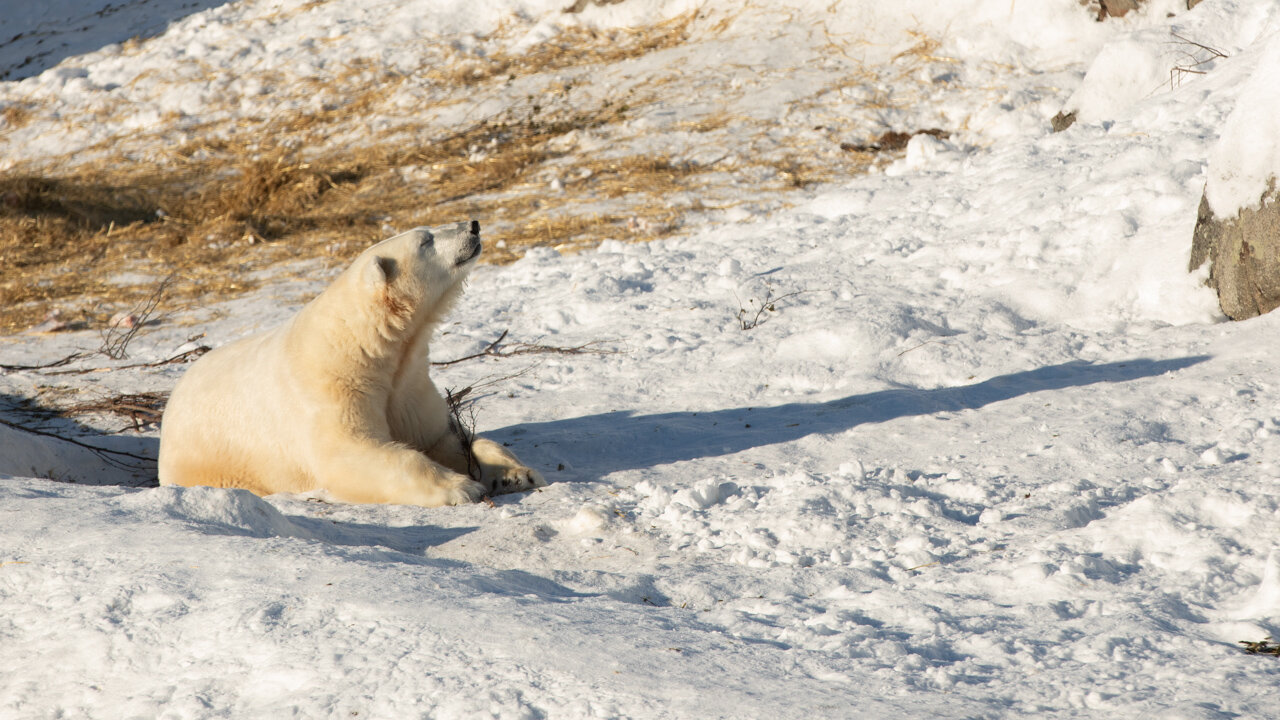
Image Gallery from Ounasvaara Winter Trail and Ranua Wildlife Park, Lapland, Finland.
Day 5 - Day 9 Saariselka
Where to Stay at Saariselka
I stayed at the Lapland Hotels Reikonlinna in Saariselka Village. Centrally located short walk to ski slopes and winter walking trails and has a bus stop just in front of the property.
Other hotels in Saariselka that looked interesting are
Holiday Club Saariselka
Aparthotel Kuukkeli Aurora
Kakslauttenen Igloo Village deserves special mention.its a popular and expensive resort but is unique.
Day 3 - Ranua Wildlife Park
This is a great way to view Arctic Animals up close.Its a nice day trip from Rovaniemei and sure to be a hit with the kids while you practice your long lens shooting technique here. Birds of Prey, Polar Bears, Wolves, Wolverines, Red Fox, Reindeer and Musk Ox can all be seen here.
Day 4(Travel Day) Ravaniemi to Saariselka by Bus
Day 5 Exploring Saariselka Village and Kaunispaa
One can easily spend a day walking around Saariselka Village enjoying the crisp winter air and stop for a quick lunch and to warm up at the Cafe at the Supermarket. I recommend the PizzaS there. Visit Kaunispaa in the afternoon via the ski lift and take in the play of colours during golden hour all the way up to blue hour. The Ski lift only takes you up so you will have to find your own way down and back to the village either via the ski bus or call for a taxi from the cafe.
Day 6 Kiilopaa Fell Winter Walking Trail
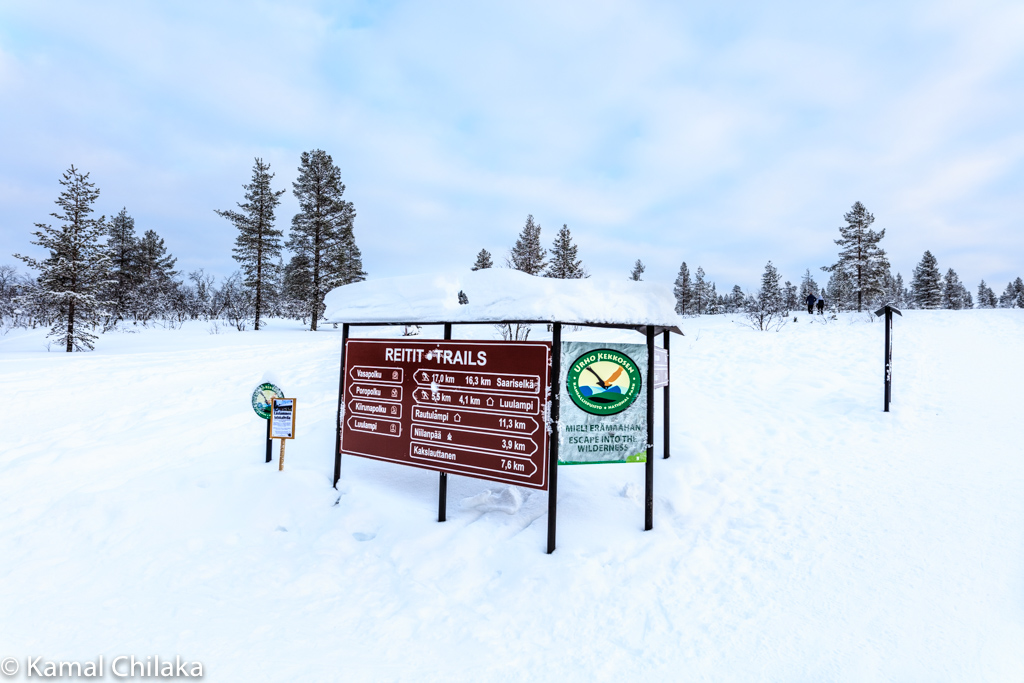
This is a lovely winter activity destination which also offer some rustic accommodations for trekkers.This is also one of the starting points for the larger Urho Kekkonen Nature Park which offers multi day hikes.
The extensive wilderness areas of Urho Kekkonen National Park can be explored on skis in winter and on foot in other times. Hiking outside marked trails requires wilderness and orienteering skills, and in winter the thick snow adds an additional layer of difficulty. A map and compass are necessary, since GPS devices are not always reliable in the remote wilderness. Nights can be spent at any of the many wilderness and reservation huts in the park, which are stocked with firewood. The huts are located about a day's journey apart from each other.
Day 7 Aurorapolku Winter Walking Trail
The Aurorapolku trail is a short 2.1 km trail ideal that ls also the one of the starting points for the Urho Kekkonen Nature park mentioned above.
This takes us you to the Aurora Viewing Platform and Day Hut with a nice warm fire and restroom facilities.
Day 8 Exploring Saariselka
On the last full day at Saariselka I decided to just enjoy walking around the village again with camera in hand. Walked a different route into snow covered cabins and houses but kept to the main road so as not to trespass on the locals residences.
Day 9 Travel Day
Having had my fill of sub zero temperatures and with memory cards full of images it was time to head back to warmer climates.
My journey from -15C to +30 C started with a bus ride from Saariselka to Ivalo airport.
After a short flight to Helsinki I boarded my Finnair flight from Helsinki to New Delhi where the temperature was a moderate 18C.
Next I boarded a flight on good old Air India to Chennai which gave me a warm welcome at 30C.
Home Sweet Home?
And here I am writing this blog as I edit my images from my trip to winter wonderland.
working on my exhibit images now. Please sign up for my newsletter or watch my Facebook page to keep updated about the dates for the Exhibit . If you like this travel adventure please do share it with your friends.Hope it was useful and helps you plan your next winter adventure. Cheers!
Here area few useful links for planning your trip to Lapland
http://www.nationalparks.fi/en/urhokekkonennp/activities
Here are quick links to Amazon.in for gear that I either used for this trip or are on my own Wishlist based on my experience in the cold. Use this to browse and pick gear for your trip.
My Top Photography Locations in New Zealand South Island
New Zealand should be on the bucket list of every Landscape photographer, Hiking Enthusiast and people with wanderlust in general. The “ Land of the Long White Cloud” or Aotearoa is it is referred to in Maori can amaze you with its expansive Landscapes, Lush Green Hills and meadows filled with spring flowers. From verdant beaches to snow peaked mountains New Zealand has it all.
NZ South Island
New Zealand should be on the bucket list of every Landscape photographer, Hiking Enthusiast and people with wanderlust in general. The “ Land of the Long White Cloud” or Aotearoa is it is referred to in Maori can amaze you with its expansive Landscapes, Lush Green Hills and meadows filled with spring flowers. From verdant beaches to snow peaked mountains New Zealand has it all.
I decided to skip the North Island and Auckland the most populous City of New Zealand and decided to just explore the South Island for my first trip as I had heard thats thats where the best scenery is. I plan to visit the North Island on my next trip there.
Getting There : Christchurch is the International Airport for the South Island . Many International Airlines have flights to Christchurch including Emirates, Singapore Airlines, Air New Zealand, Jetstar, Qantas, Virgin Australia, Cathay Pacific etc The other option is to fly to Auckland and drive and take a ferry to to the South Island.
New Zealand Time : GMT+13
New Zealand Currency: New Zealand Dollar
New Zealand Visa : See info here
Seasons in New Zealand :
Being located in the car southern hemisphere New Zealand has its seasons opposite from the usual months.
SPRING - SEPTEMBER, OCTOBER, NOVEMBER
SUMMER - DECEMBER, JANUARY, FEBRUARY
AUTUMN - MARCH, APRIL, MAY
WINTER - JUNE, JULY,AUGUST
Summer is the most popular time for tourists to visit New Zealand But I usually prefer to avoid summer for my travel as that tends to be peak tourist season and everything from accommodation to flight tickets and car rentals are expensive and places tend to be more crowded. I prefer the shoulder seasons of Spring and Autumn and sometimes winter too.
For this trip I chose to go during the New Zealand Spring.
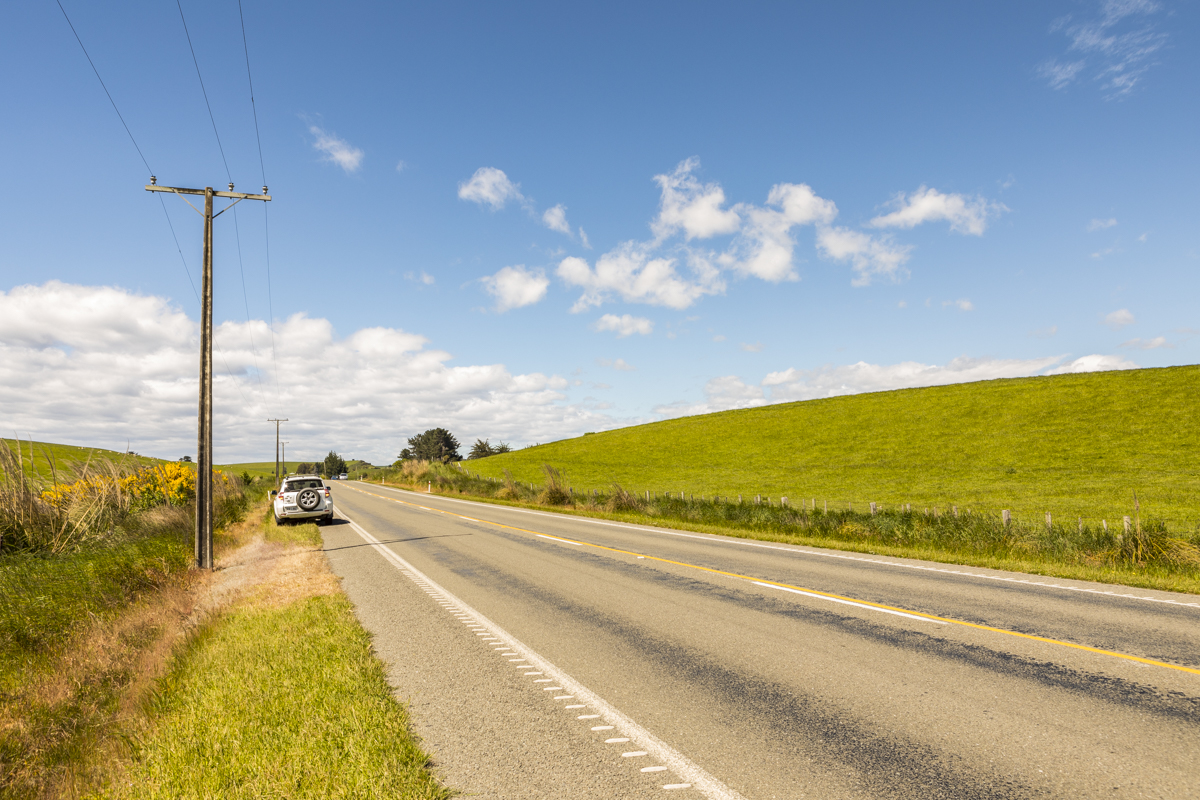
I flew from Chennai to Christchurch via Singapore on Singapore Airlines. The flight duration from Chennai, India to Singapore is about 4 hours and the flight from Singapore to Christchurch is about 10 hours. On landing at Christchurch I caught the shuttle bus to the Car Rental place and after a short wait had my car for the trip a compact SUV loaded with my luggage and headed to my Motel for the night .
I had an exciting 9 day road trip planned and wanted to be rested and well prepared before I set off the following morning. Most of my hotel bookings for this trip were done on Booking.com and Hotels.com . I also recommend using Trivago.com and Tripadvisor.com for doing hotel reservations.
At Christchurch I stayed at City Centre Motel and Quality Hotel Elms . As the name suggest the first one is a Motel with basic amenities but is located in the heart of Christchurch. Lots of food options around. The Quality Inn Elms Hotel is more upmarket and has a lovely restaurant. Do try out their Grilled Chicken on Brioche Bun.
Tekapo
My first destination was Tekapo. Lake Tekapo is without doubt one of the highlights of any trip to NZ. I had already researched Lake Tekapo by looking at images online and had some idea of the kind of images I wanted to take.
Where to Stay at Tekapo
My Hotel room at Tekapo at the Peppers Bluewater Resort was a pleasant surprise. It was way bigger than I expected and very well located near the Lake and close to the main shopping strip at Tekapo.
Some Other Stay Options at Tekapo
Lake Tekapo..yes its a lake ..
Church of the good Shepherd and Lupines
Lake Tekapo is the second-largest of three roughly parallel lakes running north–south along the northern edge of the Mackenzie Basin in the South Island of New Zealand (the others are Lake Pukaki and Lake Ohau). It covers an area of 83 square kilometres (32 sq mi), and is at an altitude of 710 metres (2,330 ft) above sea level.
The lake is fed at its northern end by the braided Godley River, which has its source in the Southern Alps to the north. The lake is a popular tourist destination, and several resort hotels are located at the township of Lake Tekapo at the lake's southern end. The Lake Tekapo Regional Park, administered by Environment Canterbury, is located on the southern shore of the lake.
An astronomical observatory is located at Mount John, which is to the north of the town, and south of the small Lake Alexandrina.
Highlights of Tekapo
Lake Tekapo
Church of the Good Shepherd
Situated on the shores of Lake Tekapo is the Church of the Good Shepherd, which, in 1935, was the first church built in the Mackenzie Basin. The church at Lake Tekapo was designed by Christchurch architect R.S.D. Harman, based on sketches by a local artist, Esther Hope. The church is arguably one of the most photographed in New Zealand, and features an altar window that frames views of the lake and mountains.
Stargazing at Mount John Observatory
Mackenzie Basin walking tracks
Rainbow at Lake Tekapo and the Church of the Good Shepherd
Moeraki
Moeraki is now all known for its boulders; magical spherical stones scattered across a beach. Each boulder weighs several tonnes and is up to two metres high.Scientists explain the boulders as calcite concretions formed about 65 million years ago. According to Maori legend, the boulders are gourds washed ashore from the great voyaging canoe Araiteuru when it was wrecked upon landfall in New Zealand hundreds of years ago.
Moeraki Boulders
Where to Stay at Moeraki Boulders
I booked my stay at Moeraki Boulders Kiwi Holiday Park & Motel which is a short drive away from the Moeraki Boulders Beach. See image below. The holiday park has prefab huts which are very comfortable with attached bathrooms. The camp also accommodates camper vans if you choose to use a camper van for your New Zealand Trip. Other nearby options with good ratings on booking.com are Noah's Boutique Accommodation Moeraki and Three Bays Apartment.
Queenstown
Queenstown is the crowning Jewel of New Zealand’s South Island in my opinion. Its a beautiful picturesque all weather resort town. With an elevation of just 310m it still manages to have ski slopes and a magnificent Lake Wakatipu at its doorstep. This terrain allows for so many activities that draws in the tourists. From Skiing in Winter to trekking and water sports in Spring and Summer it has it all. From a Landscape photographers perspective Queenstown and the surrounding areas present a lot of opportunities. Situated a short walk from Queenstown center, the Gondola carries visitors high above Queenstown to the Skyline complex. The best views in the region are found here, spread out in a spectacular panorama with breath taking views of Coronet Peak, The Remarkables mountain range and across Lake Wakatipu to Cecil and Walter Peak.
From a Landscape photographers perspective Queenstown and the surrounding areas present a lot of opportunities. Situated a short walk from Queenstown center, the Gondola carries visitors high above Queenstown to the Skyline complex. The best views in the region are found here, spread out in a spectacular panorama with breath taking views of Coronet Peak, The Remarkables mountain range and across Lake Wakatipu to Cecil and Walter Peak.
Also within a short drive from Queenstown there are locations such as Glenorchy, Arrowtown, Cardrona which present lovely landscapes and viewpoints to explore.
Where to Stay at Queenstown
I divided my stay between these two hotels so as to have access to different photography spots. Both Hotels are superbly located and have great views of Lake Wakatipu.
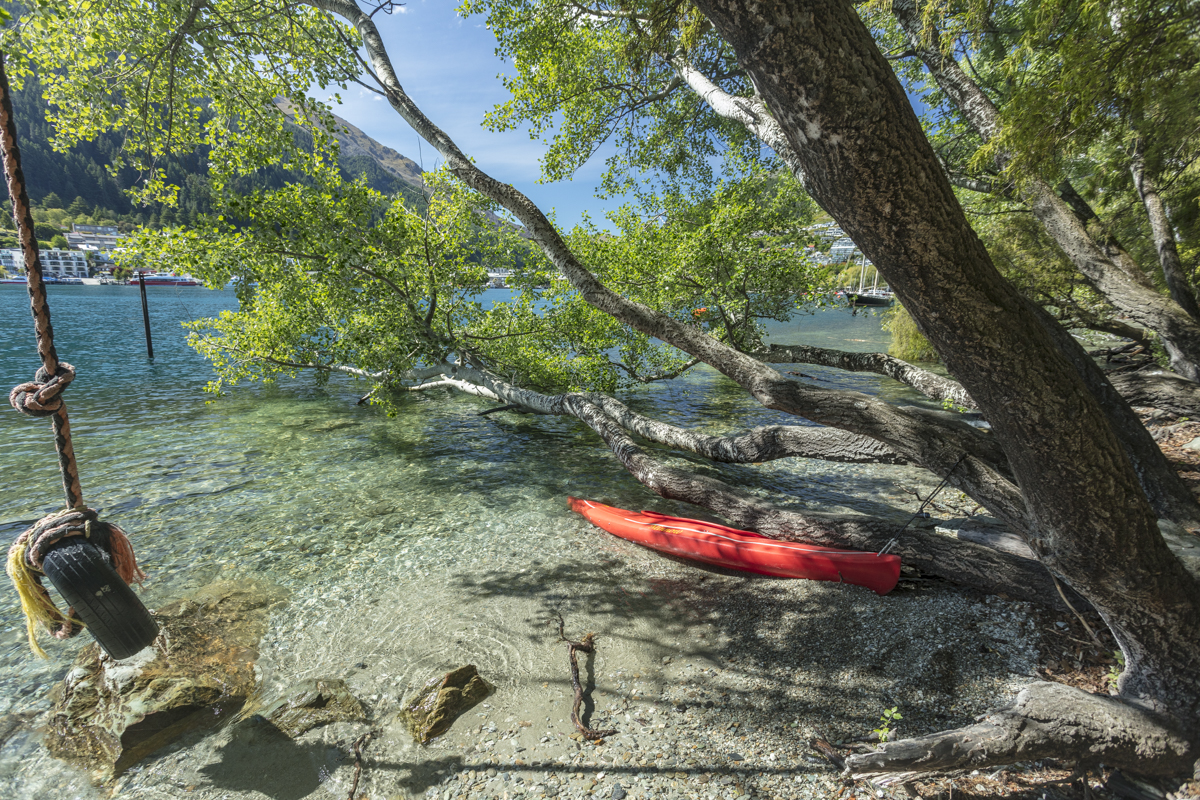
At the Shore of Lake Wakatipu
Lake Wanaka
Lake Wanaka Scene
Wanaka is just over an hours drive from Queenstown. Lake Wanaka lies at the heart of the Otago Lakes in the lower South Island of New Zealand. The township is situated in a glacier carved basin on the shores of the lake and is the gateway to Mt Aspiring National Park.
Lake Hāwea is a 15-minute drive away, en route to the frontier town of Makarora, the last stop before the West Coast Glacier region. To the south is the historic Cardrona Valley, a popular scenic alpine route to neighbouring Queenstown. I loved the drive from Wanaka to Lake Hawea. There are a number of scenic viewpoints from which to photograph on this drive .
At its greatest extent, which is roughly along a north-south axis, the lake is 42 kilometres long. Its widest point, at the southern end, is 10 kilometres. The lake's western shore is lined with high peaks rising to over 2000 metres above sea level. Along the eastern shore the land is also mountainous, but the peaks are somewhat lower.
Wanaka lies in a u-shaped valley formed by glacial erosion during the last ice age, more than 10,000 years ago. It is fed by the Matukituki and Makarora Rivers, and is the source of the Clutha River. Nearby Lake Hāwea lies in a parallel valley carved by a neighbouring glacier eight kilometres to the east. At their closest point (a rocky ridge called The Neck), the lakes are only 1,000 metres apart.
Where to Stay at Wanaka
Wanaka offers plenty of choices of accommodation from premium lodgings to hostels for back-packers. My hotel of choice was the Edgewater Hotel which is close to Lake Wanaka offering views of the Lake from the Hotel Grounds. Lake Hawea Hotel, Ramada Resort by Wyndham Wanaka etc are all good options.
kids cooling off at Lake Wanaka
Lake Pukaki and Mount Cook
Lake Pukaki
Lake Pukaki is the largest of three roughly parallel alpine lakes running north-south along the northern edge of the Mackenzie Basin on New Zealand's South Island. The others are Lakes Tekapo and Ohau. All three lakes were formed when the terminal moraines of receding glaciers blocked their respective valleys, forming moraine-dammed lakes.
The glacial feed to the lakes gives them a distinctive blue colour, created by glacial flour, the extremely finely ground rock particles from the glaciers. Lake Pukaki covers an area of 178.7 km², and the surface elevation of the lake normally ranges from 518.2 to 532 metres above sea level.
Road to Mt Cook along Lake Pukaki
The mountain is in the Aoraki/Mount Cook National Park, in the Canterbury region. The park was established in 1953 and along with Westland National Park, Mount Aspiring National Park and Fiordland National Park forms one of the UNESCO World Heritage Sites. The park contains more than 140 peaks standing over 2,000 metres (6,600 ft) and 72 named glaciers, which cover 40 percent of its 700 square kilometres (170,000 acres).
The peak is located at the northern end of the Kirikirikatata / Mount Cook Range, where it meets with the main spine of the Main Divide, forming a massif between the Hooker Valley to the southwest and the Tasman Valley east of the mountain. These two valleys provide the closest easily accessible view points of Aoraki / Mount Cook. A lookout point at the end of the Hooker Valley Track located only 10 km from the peak has views of the entire mountainside.
Aspiring National Park home of Mount Cook
My Gear for New Zealand
This is the gear I had carried to New Zealand.
I found that I used the 24-70mm and the 70-200mm lens a little more than the 17-40mm. On my next trip I will probably carry a fast wide angle prime such as my Sigma 20mm f1.4 to shoot landscape and in particular for Astrophotography. Lake Tekapo is a designated dark sky point and that is why they have an Observatory there.
General Tips for Travel to New Zealand
New Zealand is prone to Earthquakes..they are not frequent but they do happen from time to time. Check all travel advisories before going and also be prepared when you are there. Emergency services are very good in New Zealand but just let someone be aware of your itinerary.
New Zealand is a windy place. Specially near Lakes and waterbodies the wind pick up speed as it passes over the water.
While renting a car take the optional GPS package. This will come in handy.
Gas Stations in New Zealand usually have a convenience store so you can stock up water and other snacks there.
Most Hotels have decent wifi. But get the travel data card from the airport cause that will allow you o stay connected even in remote locations.
New Zealand Customs is very particular about not letting anything which can potentially harm their plant life. All your shoes should be cleaned before you pack them.If they find dirt on your shoes they will ask you to clean thematic the airport before handing back to you and may also fine you. Check out NZ customs rules form their official website before you go.
There are restrictions and strict laws on flying drones in New Zealand. Pls be aware of them before you operate one.
NZ is a sparsely populated place specially the South Island. So when you travel it is better to travel with a companion if possible. I travelled Solo and did not have any problems but often found myself thinking it would be nice to have a companion .
New Zealand image Gallery
Kamal Chilaka in Association with Eyemage Tours undertakes small group and customised photography tours to New Zealand and other locations suited for photography. Please contact Kamal Chilaka at +91 8778336918 or mail at kamal@eyemage.photography for details.


